DIY Built-In Bookshelf and Desk {Thoughtful Thursday}

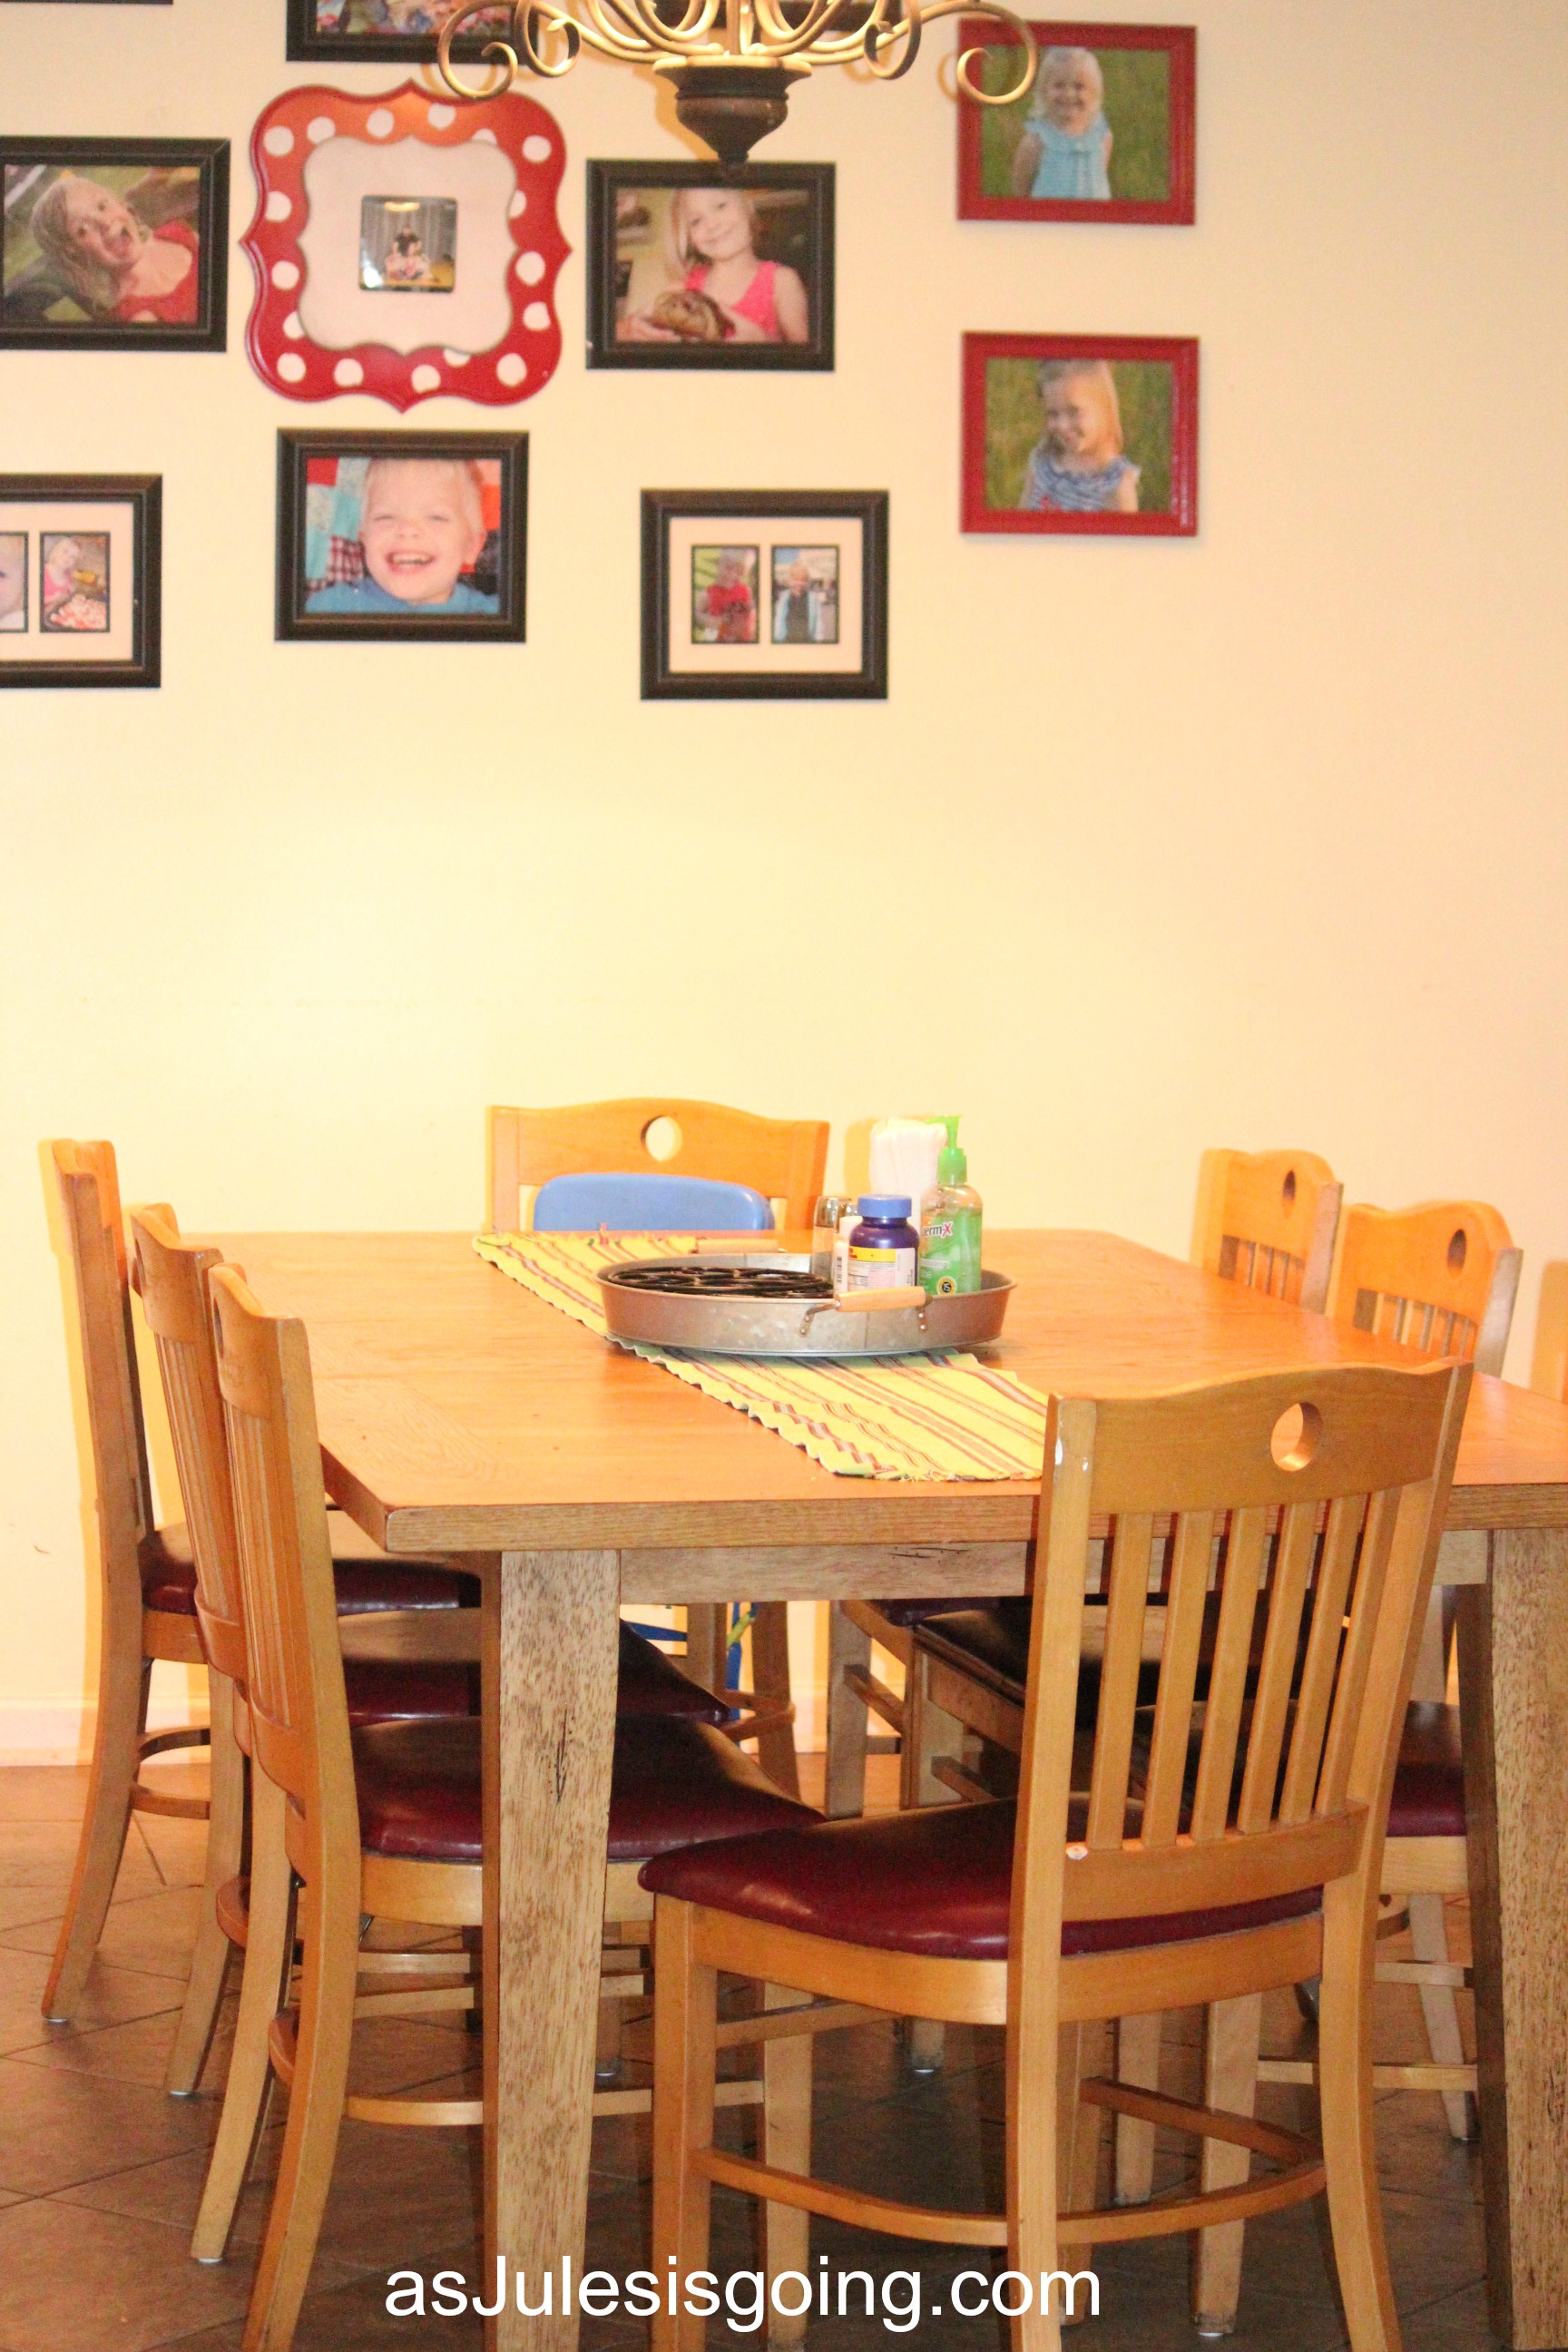
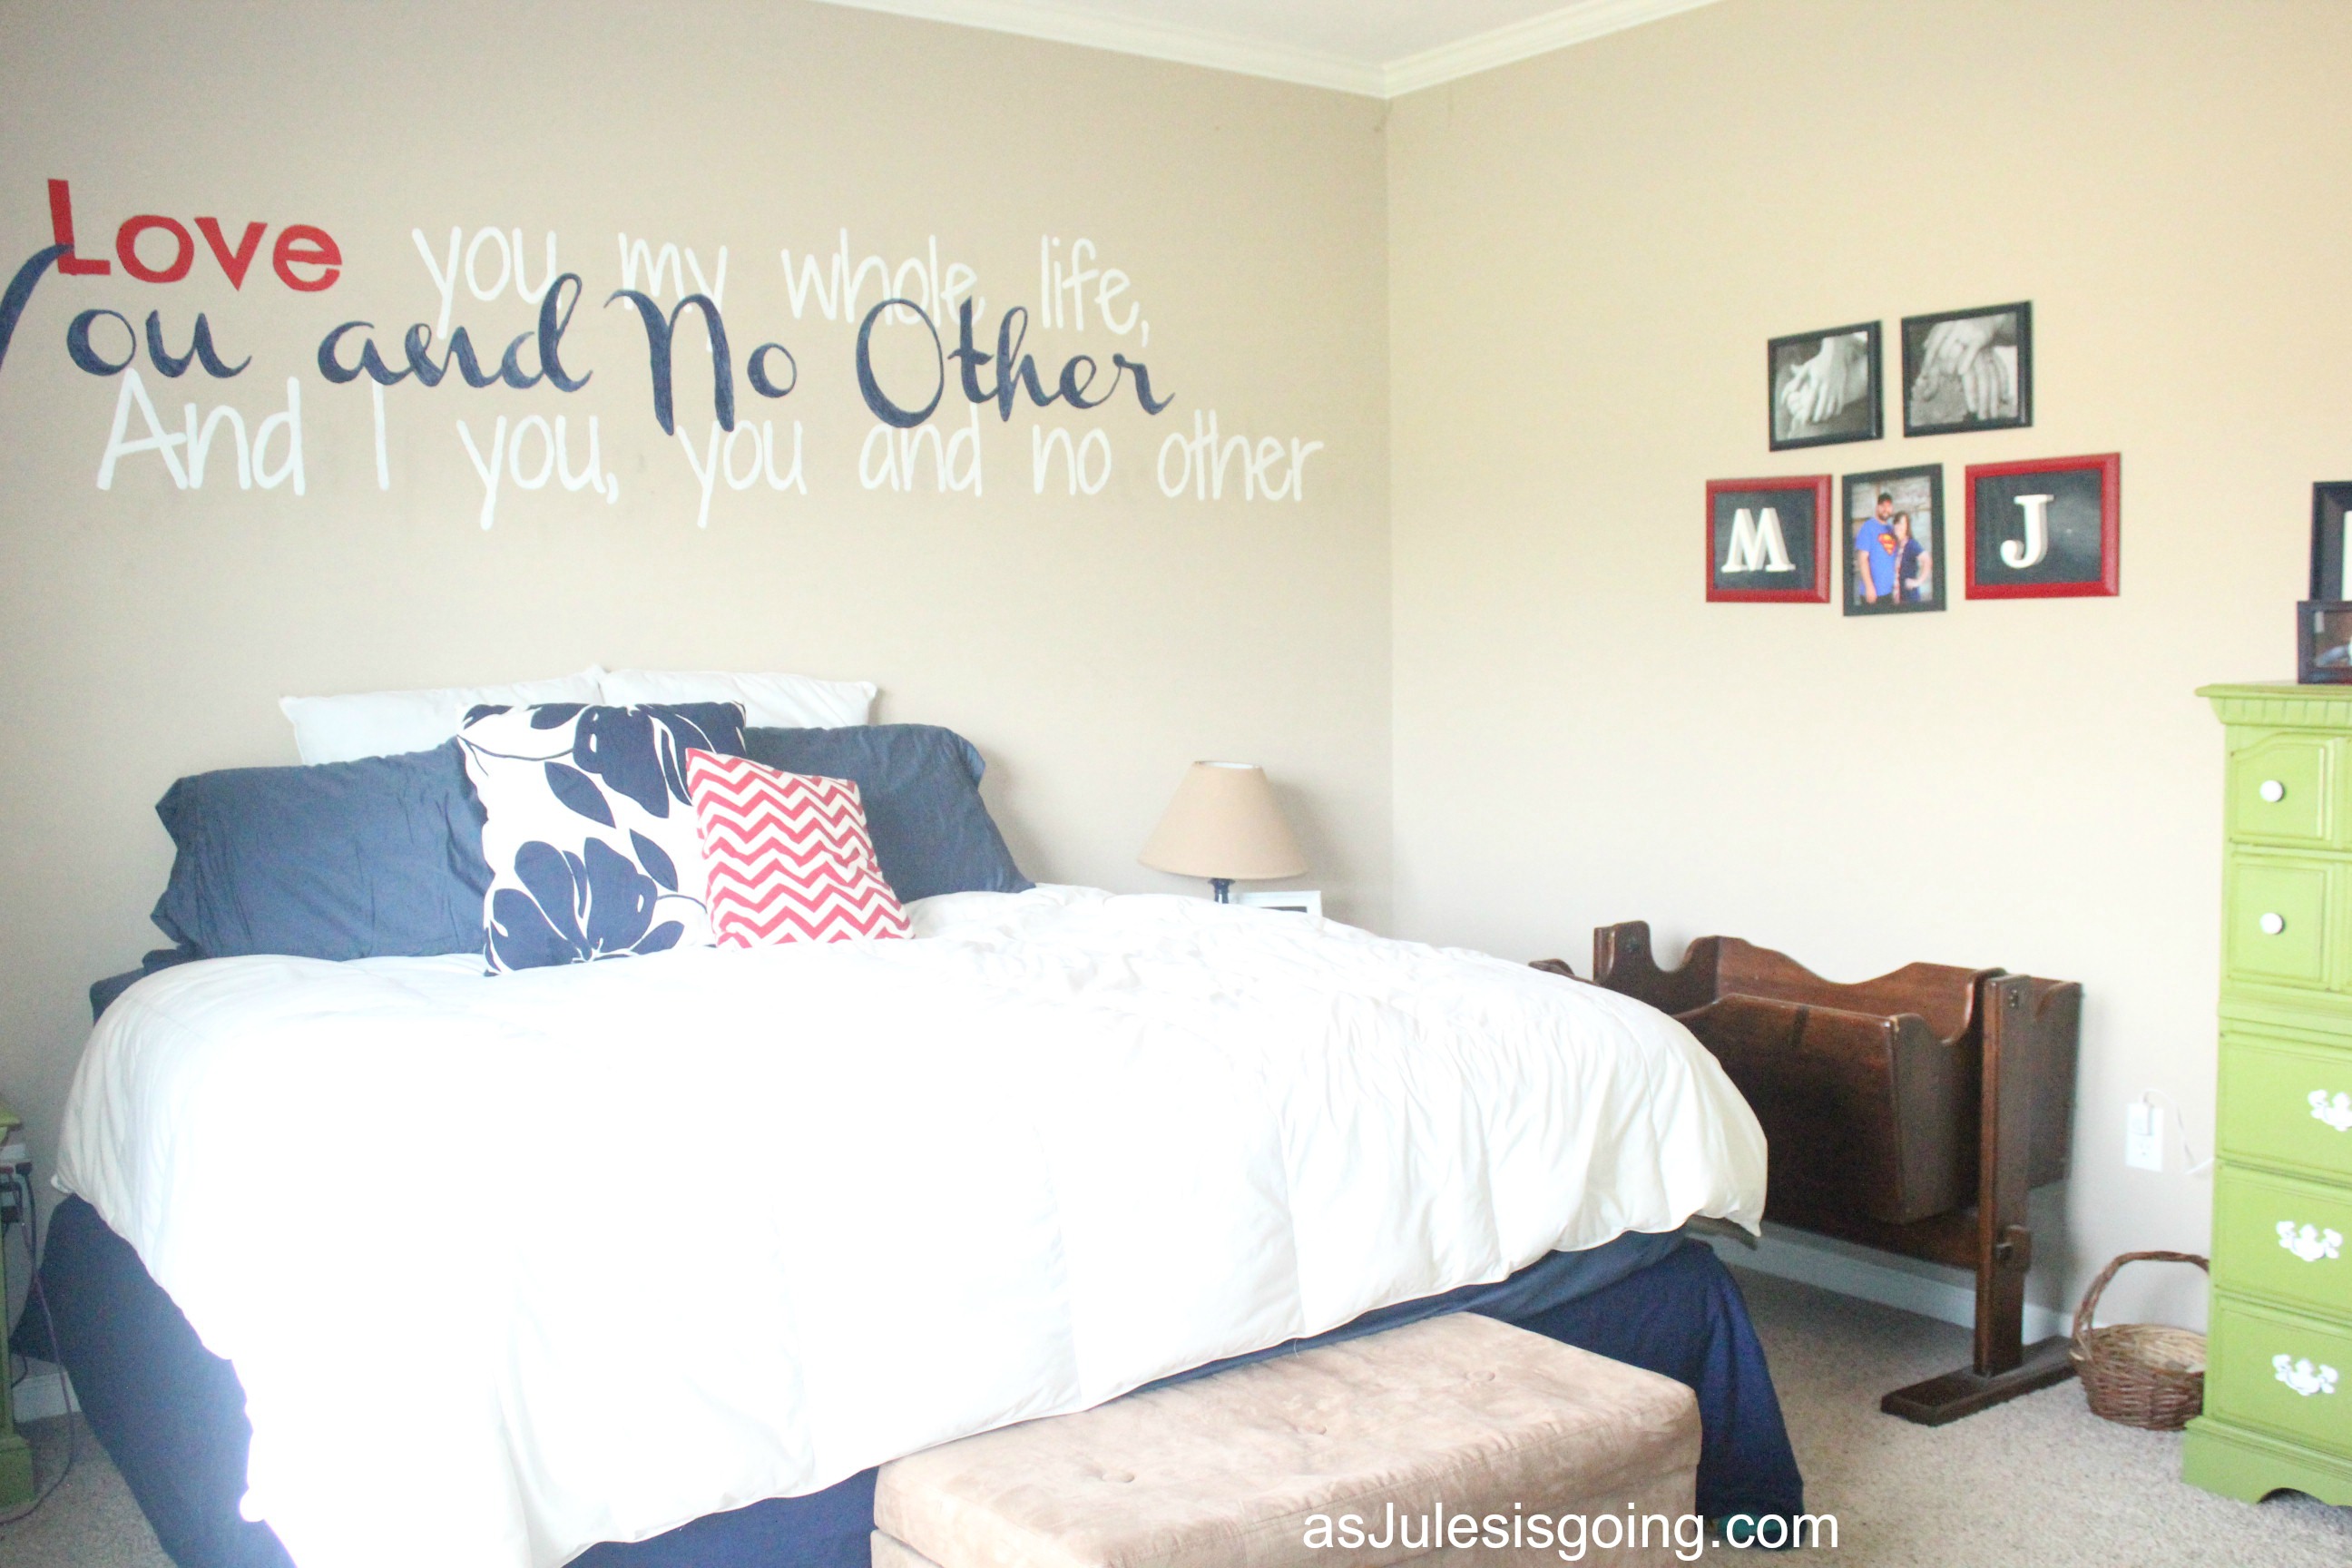
Originally, I just wanted something in this awkward corner of my living room. It's the only thing in the room that causes it not to be completely square. This little joint out is created by the master closet and it's kinds fun, adding a little character to the room. Every week when our small group would come to our house, it bothered several friends. "What are you gonna put on that wall?" Ya know, since the rest of the room was covered in pictures and such.

Thoughtful Thursday

Here was my attempt to decorate this space. A cute dresser friends gave me and I painted, my awesome clock I'd been ogling and my hubs got me fr Christmas, and some other random decor items I had around the house. It worked for a while but seemed so minimalism compared to the height of the room and the scale of everything else in the room.  

I always loved the built-in shelves I've seen on Pinterest. But this wall is 12' tall and about 5' wide. I wasn't sure my hubs would be up for such a *big* change. I proposed the idea and when he didn't totally hate the idea, I sketched out what I was thinking and showed him several image ideas on Pinterest. 

At the end of the summer last year, I suggested maybe it could be my birthday present. He agreed 😀

A friend of ours visited from out of town and agreed to help Matt build my monstrosity over the weekend he was staying with us. Eek

There were a couple things that came up throwing a wrench in my plans but we worked around them. The main one was the carpet. We have hardwoods in our living room but the former owner chose to put carpet down with with a tack strip and a one foot of hardwoods showing around the entire room. We had never taken up carpet and discovered the take strip was installed with huge nails leaving big holes in the floor. We weren't ready to deal with holes in the floor every few inches so we chose to build the shelve up to the height of the baseboard. We added [mostly decorative] feet to the front of the shelf that we had intended to use on the bottom of the girls' dresser

In my mind I worked from the top shelves down. I knew I wanted bookshelves up top. Then I wanted a desk-like space for our printer and working on homeschool or other stuff. Below that, I wanted plenty of space to store paper, our laminater, and larger items like completed scrapbooks. Just recently, I caved and bought a cardboard paper divider to keep them sorted and from getting all torn up in a basket. Ideally, I wanted a wooden divider but I was never going to pay for one. After lots of finagling, the cardboard one fit perfect and does a perfect job. 

Yes, I chose to sort our books by color. Most of these books are on the same or very similar topics and have already been read or are only used for reference. Plus, I like color and makes the shelves more decorative since I ended up with more books to fill it than first expected and less room for other cutesy things. 

built in book shelf desk paper divider

A year later, having never posted the original post, I'm still loving this built-in. It adds a decorative aspect to this otherwise odd corner of the living room, stores all our book that would be in the attic if not here, makes them easy to read and or lend, makes printing, laminating, and working on things in general so much more practical.

Recently, I gave up on finding an affordable wooden paper divider the size I wanted and went ahead and bought a cardboard one from Target. With 15 slots, it has enough space for the kids construction paper as well as my printer paper, card-stock, and laminate sheets.

I am a huge fan of when norms are thrown to the wind, thinking up what could make life easier, and doing what works for your family. This giant shelf may not be everyone's design dream but it works so well for us!

Share Button

Post to Twitter

DIY Deck Curtains: What You’ll Want to Know {Thoughtful Thursday}

About a year ago I made over our back deck. Our deck is a great size but we weren't utilizing it well.

Thoughtful Thursday

Along with redoing an old bakers rack to use as toy storage and a gross looking outdoor table, I also decided I wanted to make some of the awesome curtains outdoor curtains everyone was pinning. You know the ones: drop cloths, pvc pipe, and clip hooks. I went to town, collected all my supplies, and got to work {with the help of my taller and wiser hubs}. I even took tons of pictures with the intent to share them with you because they were super easy to make! ...except apparently I never did. hehe

Well, in short, I still love the curtains. Or at least the idea of them and how I've recently adapted them to work better for our family.

DIY Outdoor Curtains what you'll want to know, a year later

Now for the longer explanation.

Supplies:

  • 4 khaki drop cloths
  • 4 packs of curtain rings with hooks
  • Rope
  • PVC pipe {I used really small/cheap pipe}
  • Pipe caps
  • Bracket pieces {choose based on size of pipe- it will likely be on the same aisle}
  • Screws
  • Nuts
  • Drill
  • Scotch guard spray*

Installation:

  1. All the tutorials made it seem easy to just cut the pvc pipe, slide on the curtain hooks, hang with something, and clip on the drop cloths. Expect. No.
  2. The cutting itself was easy but the length I needed meant that the skinny/cheap pipes I bought ended up having these widened pieces on them because I had to add another piece to make it long enough. No big deal.
  3. Except the loops on my curtain hooks weren't large enough to make it over that piece. I had to be super strategic about which side I put how many rings. I wanted to be able to pull the curtains closed to block the sun but I also wanted to be able to pull them all the way open to be decorative or let their be more air flow.
  4. Then the hooks were too big to slide easily and would get snagged on the ditch parts of the siding where I was having to hang the pipe around the top of my deck.
  5. Screwing the U brackets in wasn't super easy either. It is hollow behind the siding making it cave in when you press the drill down trying to create the hole for the screw or pressing in the screw.
  6. We used 3 brackets on each side attempting to keep it from sagging.
  7. We did a quick-fix and added a bolt behind the brackets making the rod set further from the wall to help with the snagging problem.
  8. My drop cloths were a little too long between the combination of where I could install the rod and the hanging down clips so I had to finagle them over and over again to fold over some of the curtain to raise them slightly. I would lay them out on the floor, fold them while measuring to make sure they were straight, space the hooks evenly, and then thread the pipe through, trying to remember how many rings when on each side of the pipe bulge.
  9. We did the same thing on the east and west side of the deck and left the south side open- allowed us to see the yard more easily when the kids were playing, the sun didn't really come onto the deck from that direction, and trying to figure out how to do that one was really hard with the stairs to the off-centered right side.
  10. Simple pipe caps will keep bugs from getting in your pipes and/or making nests in them.

DIY Outdoor Curtains what you'll want to know DIY Outdoor Curtains

Observations:

  • Over the first few months we learned a lot about those idealistic curtains that no one told you in their tutorials...
  • They don't stay clean
  • They're hard to take up and down to wash
  • They sag. Adding more brackets was the first answer I came up with but that creates problems again, opening and closing them easily.
  • They fly in the breeze, not blocking the sun
  • They get hooked on the roof/in the gutters in strong wind/rough weather
  • If you tie them back so they don't fly away in rough weather, they mildew {I used scotch guard after taking them down and washing them one time and that helped a little}
  • You can't see your children if you leave them hanging down long past the railing of your deck

After lots of annoyance, I ended up taking them down for nearly 6 months of this last year if not more because I was tiered of asking my husband or risking my own life to fish them off the roof, take them down to wash, re-hang, opening and closing them based on the weather or if I needed to see my kids playing, etc. When spring hit this year I had forgotten most of the frustration and was okay with not having the pinned version of what I was hoping for. I adapted the curtains to fit our needs.

Changes:

I yanked down the entire rod on the east side. We rarely go into the backyard first thing in the morning and even if we do, the sun isn't that bad

I used all the hooks from that side to reinforce my new plan to have just the west side curtains

I only used the bolts from that side as well and doubled the spacing away from the wall to help the curtains pull open and closed easier

I still used 2 panels on the west side but I spun them on their side and made the long length run horizontally. This helped in a few ways--

  • it left the railing exposed so I could see the kids while they played under the curtains
  • the sun was still blocked during the heat of the day
  • they weren't flying as crazy because the length was almost cut in half
  • it makes the curtains look fuller, with lots of scrunch
  • I can just tie them in the middle and their still cute

DIY Outdoor Curtains issues

I hope this helps you see all the pros and cons about the reality of this project and what its like living with them. 😀

Share Button

Post to Twitter

Foster Family Organization: Our Kitchen

Being ready for new fosters for me means having the essentials ready. Some things we can keep stocked are kitchen items.

Foster Family Organization  Our Kitchen

We store all our dishes in lower cabinets to make it easier for our kids to do the dishes chore. we also make sure we have plenty of plastic plates and silverware for up to 6 kids. Although, some of them have disappeared...probably eaten by the trashcan. I would LOVE to have enough for 6 kids and 3 meals but we're not there yet.

I love the the Ikea kids' plastic tableware! 1. It's awesome bright colors. 2. Microwave and dishwasher safe. 3. There are 6 different colors! Why do the colors matter? I may or may not color code my children...and I have 4-6 kids at any given time.Foster Family Organization dishesFoster Family Organization silverware

I also found cheap water bottles in the Target dollar spot {they didn't have them this year but I found the same ones at the Dollar General for ~$.50 more}. My kids get milk for breakfast and watered down juice for lunch and dinner so water bottles are a must for any other time during the day. We have like 6 extras right now because water bottles are one of the things we send with our fosters when they get to leave.

extra water bottles

I only let my kids have one cup a day. If they can't find it then they don't get a drink until they find it OR they get their water bottle. The next thing we started when we had 6 kids, most of whom were bigger, was "cup spots". My kids knew they were supposed to put their cups on the counter next to the fridge but if they weren't using "their color" that day, they could't remember which one was theirs. Soooo, I put scrapbook sticker letters on the counter. You can't see them from far away but they're easy for the kids to see up close.

Foster Family Organization daily cup storage

Foster Family Organization letters on the counter for daily cups

I'm hoping to find more and more things that can help us function with more ease and be ready for what foster care may bring us.


Share Button

Post to Twitter

Foster Family Organization: Meal Time Essentials

One of the organizational systems in our house is this lazy susan on the table.
kitchen table

It helps makes keep essentials on the table so we don't have to locate them every meal time. The items we keep in the center of the table are napkins, hand sanitizer, salt and pepper, hot plates, and occasionally vitamins. I always loved this heavy wooden lazy susan but never bought one. We've used several different plates just sitting on top of the cheap plastic one we already had. It worked okay but the decorative plates I used weren't flat so you couldn't use the entire thing AND if kids turned it too quickly, everything flew off.

lazy susan centerpiece tray

I found this awesome metal tray at Wal-Mart on sale. It was inexpensive, matched the look I liked, and was bigger than the plates I'd been using so it worked great. Well, except the part where it was bigger. That meant if things got off centered on the plastic lazy susan under it, it would tip OR it would slide around on it. Easy fit to make this the perfect decorative center piece and organization system for meal time essentials: hot glue! Permanent but not total permanent if I changed my mind later.

custom lazy susan


Share Button

Post to Twitter

Foster Family Organization: Keeping Our Home Ready and Running

I'm a planner for when you couldn't tell. So when we started fostering it was very difficult to keep myself calm when you just never knew how to prepare for the children coming into your home. There are a few things that I've learned that helped us me cope by keep some order and being ready for any age that may come.

2016

It may seem odd but if you know or are a foster family, you understand that each family is unique in what they can handle and who they family will be able to care for. For us, at this time, we are only taking males under Jamin's age. That helps me tons in way of preparation but still leaves a vast area from infant to mature preschoolers. I want to share some things we've learned that can still be pre-planed to keep your sanity in such a transitional life-style. 

Foster Family Organization sanity-saving things to preplan in such a transitional life-style {a peek inside a foster family's home}

Some of the things I've already shared about so you can click the images below to read more about those.

The Great-Wall Transformation

Having a simple way to keep shoes, hats, bags, and coats makes life less cluttered. This mudroom system right in our living room is so easy my 2-year-old knows exactly who's what goes where.


Living OUTSIDE You Home with toys #missionalliving

Having a fun "parking lot" set up for my kids riding toys allows for fast and easy clean up after outside playing.

DIY Dry Erase Monthly Menu

Having our dry erase menu and our "boarding" month planned out takes one more thing off my plate.

master bed boy room girls' room guest room

Having bedrooms set up with some wiggle room allows us to not have to over think when a new call for a placement comes in, no matter how late at night it is. Our room is ready to receive an infant. The guest room is ready to receive an infant through a child. Jamin and Ellie share a room currently but we have a bed ready for her if a child needs to share with Jamin and a trundle ready if it needs to be moved into the guest room.

guest closet diapers and bedding guest closet hanging bar guest closet clothing storage

Our guest closet is socked but at the same time trying to make it still feel like a child's own closet rather than a guest closet. We have diapers of almost every size, blankets, baby toys and gear, air mattress and bedding {for guest not fosters}, and a few pieces of clothing for every size from 0-3 months to size 6.


lazy susan centerpiece tray
medicine cupsmedicine log

My biological kids are all on daily allergy medicine and foster kids often come in with their own set of medications. The only kicker is you can't leave medications out to help you remember to give them because they would then be accessible for littles. Depending on the age of the child, I leave the vitamins out on the custom lazy Susan but otherwise everything goes in the locked cabinet and I leave medication cups out to help me remember. Fosters have to have all medicines recorded so we place a clipboard with the medicine log out in the open with a pen hanging on it so we can quickly record everything.

counter cleanup

Babies come with all kinds of things like bottle, formula, burp clothes, and diaper that need to be readily available. Therefore leaving your house in survival mode. That doesn't mean it has to be unattractive. I decided to wrap a formula can in cute scrapbook paper so leaving it on the counter next to the drying bottles wouldn't be a total eyesoar.

I hope this glimpse into our home was fun, helpful, or just interesting. I know I like snooping in other's homes with great detail and thinking through things with them about why they do certain things. Any questions?

Share Button
Related Posts Plugin for WordPress, Blogger...

Post to Twitter