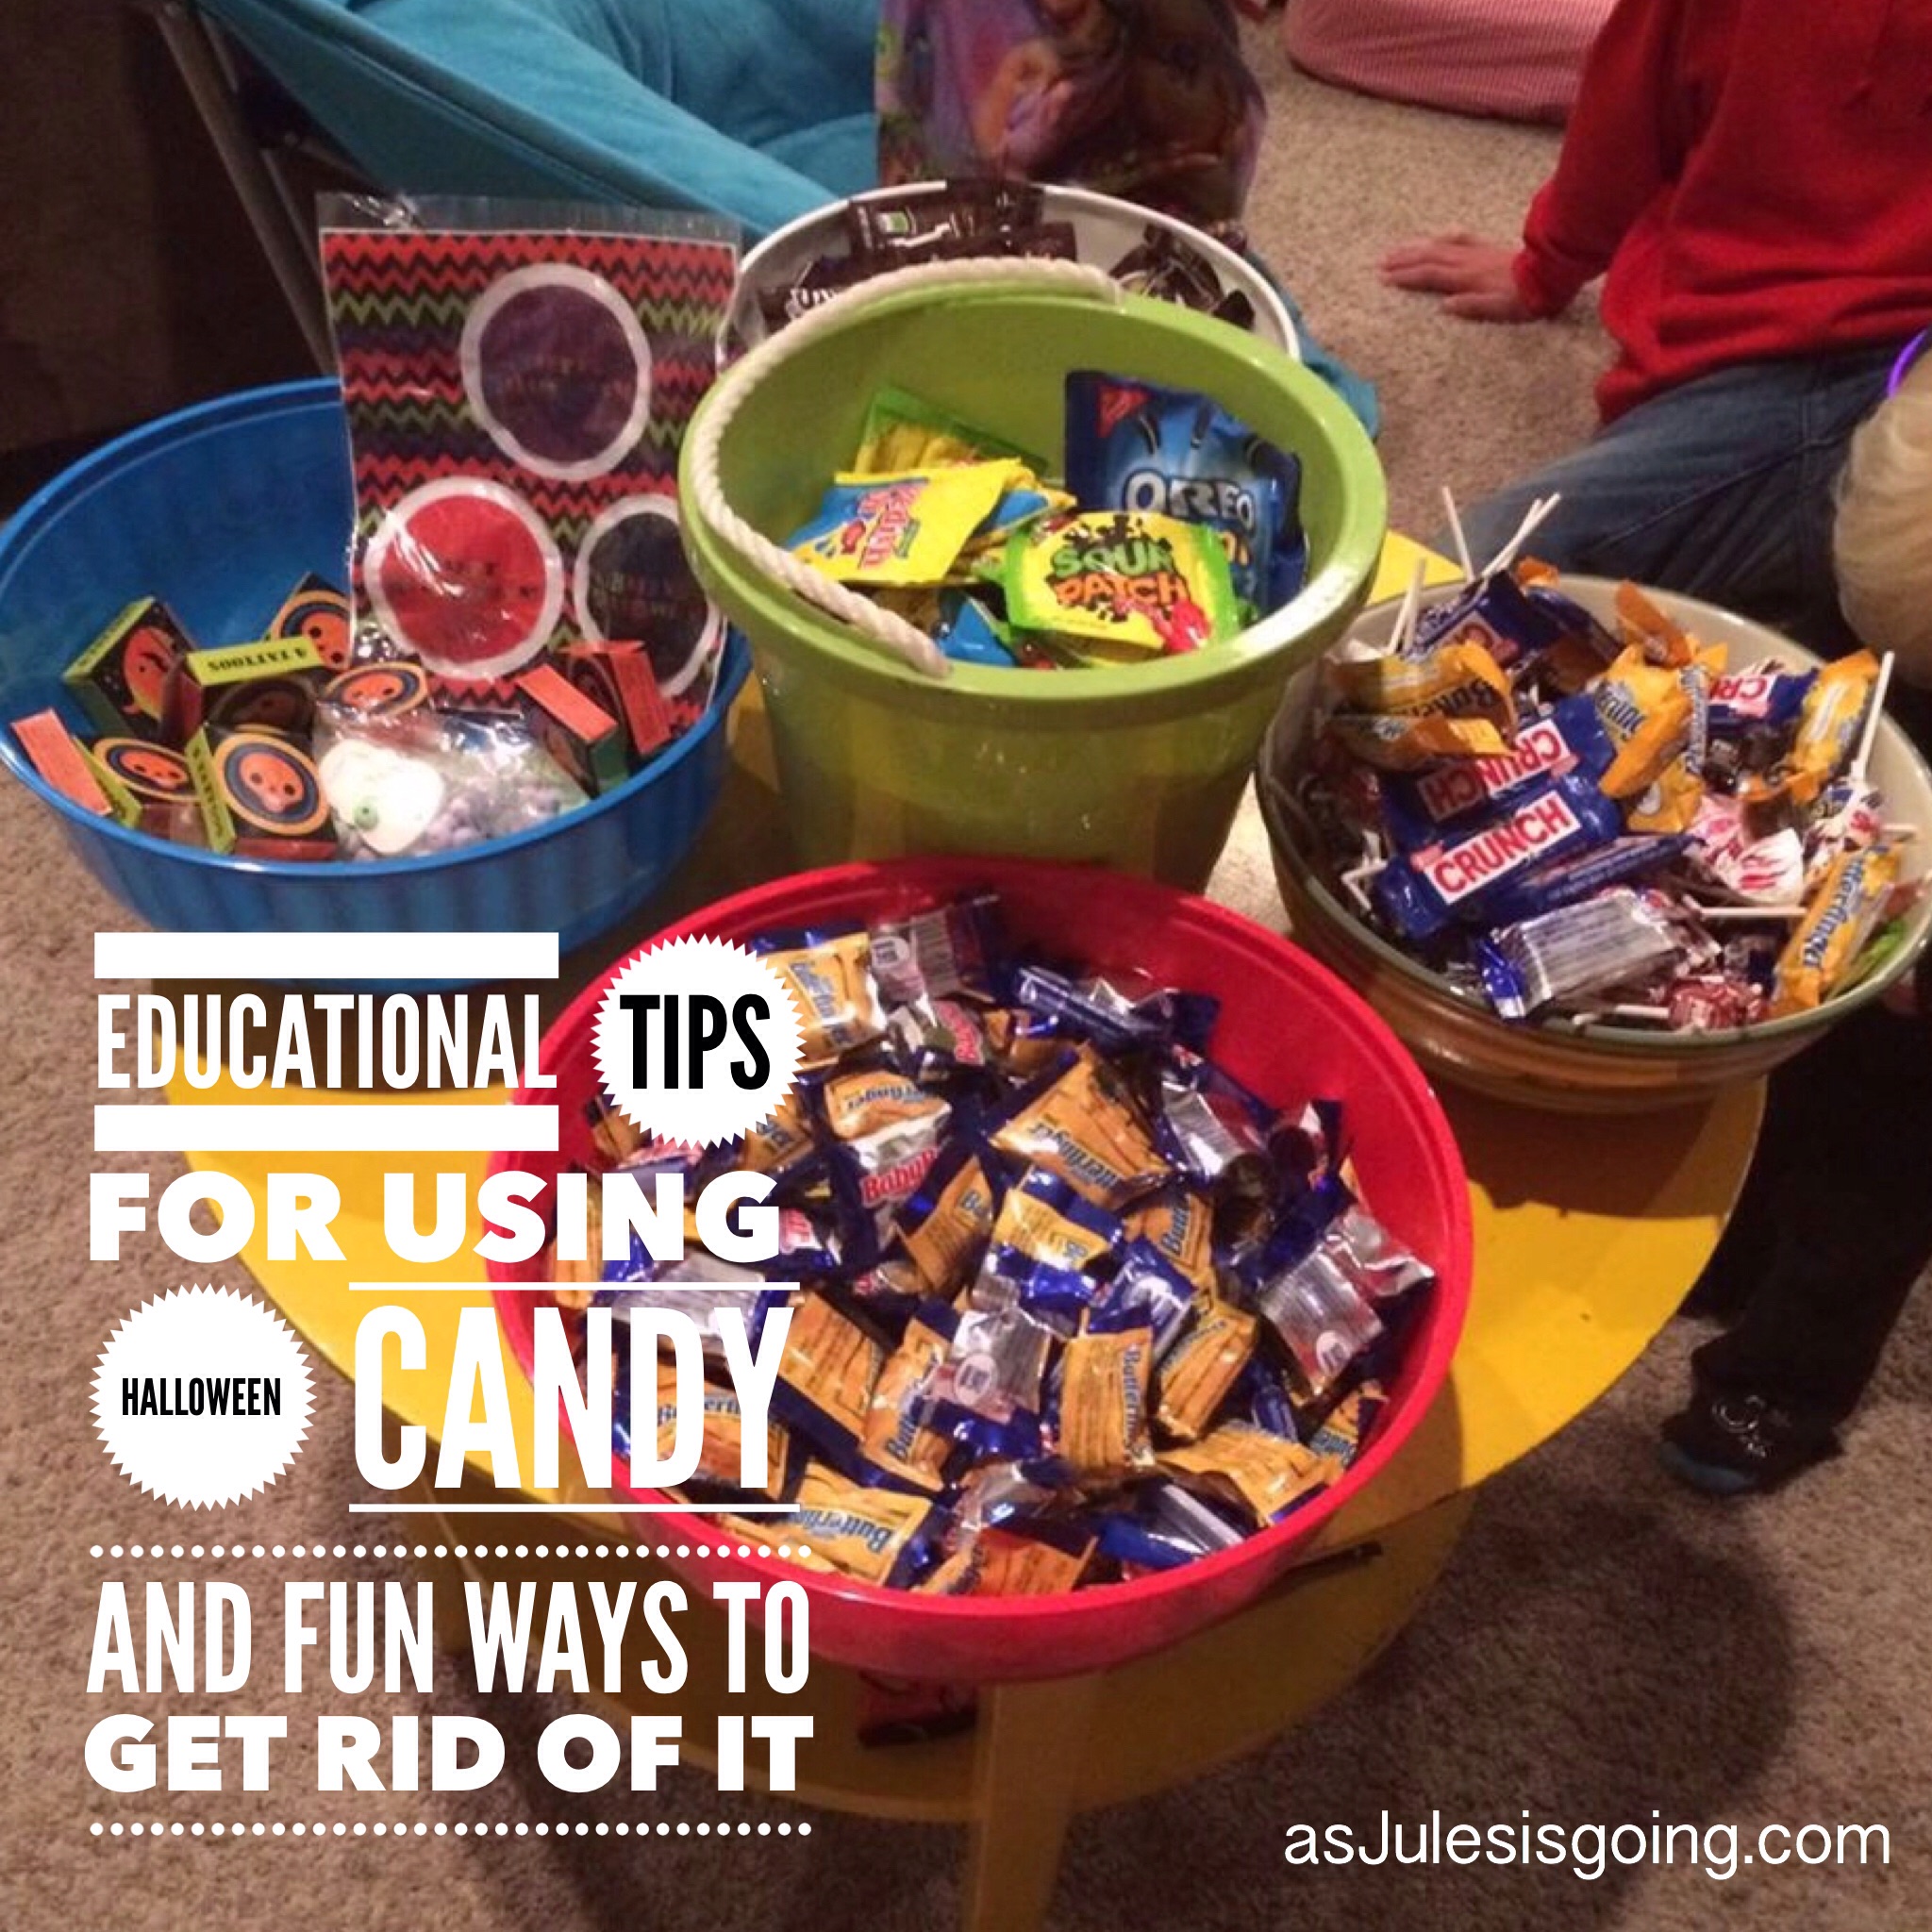
Do over or Did it right?

I was never the girl who had a secret binder of wedding plans so when I got engaged at the age of 19 I just winged.

bridal party pic

Without knowing the does and don'ts, the what's hot and what's not, or the faux pas' of weddingry I think we pulled off a pretty cool party...and I think I liked it better that way :D

Bridal Party cake Hands and Flowers

Orange, lime Green, hot pink, turquoises, and yellow bridesmaid dresses! I always hated the idea of making someone uncomfortable in a certain make dress so I just handed out paint color swatches to each girls and let them pick the make and price. I LOVE who it turned out!

79_504480351937_4669_n

Matt of course knows who the best superhero in the world is and we had to make sure he made his appearance. From Matt's superman undershirt to superman holding his bride down to a superman brownie grooms cake. We had a personal wedding!

79_504480317007_9205_nGrooms cake

I plugged in as many friends and family as possible. No fire! Lots of balloons. Tons of bright color I loved. Incorporated gerbera daisies AND superman into our special day. I wouldn't ask for a do over, even nearly 9 years later!

The Rothachers thevalleychurch.org

How 'bout you?

Pass it on:
  • Print
  • Facebook
  • Yahoo! Buzz
  • Twitter
  • Google Bookmarks
  • email

Valentine’s Day {party for PreK Homeschoolers!}

What's not to love about a holiday all about love?

I have fond memories of school day parties. You remember, back in the day when schools were allowed to throw a shindig for every holiday under the sun. Class lists were sent home, homemade treats were passed out personalized for each student, homeroom moms showed up and celebrated with their kids and fun games.

There have been a lot of positive changed in the past few years and some of those things are still happening. But since I plan to homeschool I don't have the chance to see if my kids are going to have the privilege of enjoying "party day" at school...I get to plan the party! Woot Woot!

Find our plans for "LOVE Month" on the Homemaker's Challenge today!

It includes pictures, ideas for teaching History, fun Foods, Crafts/Gifts/Surprises, and Activities, and some resource links as well!

Pass it on:
  • Print
  • Facebook
  • Yahoo! Buzz
  • Twitter
  • Google Bookmarks
  • email

Family Halloween Costumes {Thoughtful Thursday}

If you last minute like we are some years, here are some cheap ideas or couple and family costumes!

Couple Costume Ideas:

The Incredibles

Black Face Paint
Red Off-brand Under-Armor Long Sleeve Shirts
Black Ladies Panties
Yellow Duct-tape
Red Tights
Black Boots
Printed logo on sticker paper

Family Costume Ideas:

Fireman, Firetruck, Fire-dog

Fireman: borrowed an actual fireman's outfit

Fire-dog: dalmatian costume cheap from Wal-Mart

Firetruck: Paint Cardboard Box like a firetruck
Cute a hole in the top large enough for the person wearing the costume
Cut small holes in the corners of the box threading twin through the holes
Knot twin inside the box at the length the person needs it
Wear solid colored clothing under as to not distract from the costume

Farmer, Farm-Dog, Prize-Winning-Pumpkin

Farmer: solid shirt under overalls with hubby's flannel over top- prego tummy simulates pot belly ;o)

Prize-Winning-Pumpkin: pumpkin costume borrowed from family friends

Farm-Dog: borrowed Awana Cubbie Bear costume
Safety pin fake fur from the Walley World cut into long floppy ears over the bear ears
Added a scarf to hide gap between head and neck of costume

"Picnic"

Diet Coke Can: duct-tapped together 2 old banners
Loop the ends around 2 hoola hoops and duct-tape

Lady Bug: dalmatian costume cheap from Wal-Mart

Chicken Leg: brown sweat pants that fit and hubbies larger zip-up hoody stuffed with prego tummy and an extra pillow

Bag of Grapes: 2 clear 'gift bags' that are made to go over gift baskets
fill with green balloons
knotted together at the right length over shoulders {easy to remove if uncomfortable}
Solid colored clothing under costume as to not take away from actual costume.

"3 Little Pigs"

3 Little Piggies:
little girls: pink sweat pants under skirts
long sleeve pink shirt *either under another shirt or a shirt that already had pink sleeves hanging out

adult: pink leggings under shirt
Pink long sleeve shirt under another shirt

Everyone: Pink small triangles glued on larger triangle shaped ears hot-glued onto a headband
Foam cut into a spiral and pulled loose stitched to the booty of the skirts
Face paint on a pink noses

Big Bad Wolf: gray hoodie with gray foam triangle cut out ears stitched to the hood
flannel shirt over hoodie
overalls over shirt and hoodie with another foam cut out in the shape of a tale stitched on to the booty of the overalls
Face paint {or use mascara} on a black nose

Brick House: Red long sleeve t-shirt with bricks painted on with acrylic paint
Paint a roof on to a folded piece of cardboard safety pinned onto a stocking cap

Don't forget to take some fun pictures of your awesome costumes and print some prints, make a keepsake or even an entire scrapbook!

Shutterfly.com

Pass it on:
  • Print
  • Facebook
  • Yahoo! Buzz
  • Twitter
  • Google Bookmarks
  • email

Tutu Table Skirt (Sugar & Spice Baby Shower) {Thoughtful Thursday}

I told you last week I got to be apart of an awesome baby shower! The theme was "Sugar & Spice". We used hot pink and orange everywhere. It was so fun!!! I wanted to tell you about the fun tutu table skirt I got to make. I found the idea HERE on Pinterest. I wanted to show you how easy it was!

Supplies: {for a 12' round table}

  • 6 yards of white tulle
  • 3 yards of both orange and pink tulle
  • 12 feet of white ribbon
  • table-cloth hooks
  • lighter
  • scissors
  • some sort of measuring tool

Directions:

  1. measure & cut white tulle into 2 inch strips
  2. measure, cut {quickly burn the end of the ribbon to prevent reveling}, & string up ribbon {easiest way I found to know tulle on}
  3. loosely knot each strip evenly onto the ribbon {this takes a crazy amount of time}
  4. space white tulle evenly across the entire ribbon
  5. go through and group a few strips so there is even spaces available along the ribbon
  6. cut the orange and pink tulle in 2 inch strips
  7. loosely knot colored tulle evenly across the ribbon placing several strips together to make the color bolder
  8. once all the strips are on the ribbon, move them around to even them out
  9. when decorating for the shower {or whatever event you'd like to use the tutu for}, stretch the tutu around the table, using the table-cloth clips, hook the tutu evenly to the table
  10. fluff, rearrange, cutesy up the skirt prior to the shindig {we also layered an orange-colored plastic table clothe under

Have you tried fun things off Pinterest? Do share!


Pass it on:
  • Print
  • Facebook
  • Yahoo! Buzz
  • Twitter
  • Google Bookmarks
  • email

DIY Poof Ball/Lantern Decor {Thoughtful Thursday}

Back in August I had the privilege of helping host a shower from my life long friend how is growing a miracle, Amelia! In the next couple weeks I wanna show you how I crafted up a few of the decorations to pull off our own "Pinterest inspired Sugar & Spice Baby Shower. Today...The Poof Ball ;o)

I've seen these lots of places and think they are super cute. I searched and searched Pinterest looking for a simple tutorial. It was actually hard to find. In true Jules fashion, after finding one I kinda did it like them and of course tweaked it a little. I hope to be a simple (pic)tutorial for you to follow or tweak!

Here are the materials I used {you can of course switch it up!}:

  • Tissue paper
  • Scissors
  • Wire

I used 2 sheets of white tissue paper. Yeah, just 2 sheets. Crazy, ehh? You can of course use more for a thicker poof or a different color. Our shower was already going to have orange and pink lanterns so I went with white.

Stretch out the paper flat then cut strips about 1-2 inches wide. I did Not measure. I just cut on the crease and in between each crease. Then cut the long strips in 1/2 or simply cut down the middle crease.

Here comes the complicated part. Gently twist each strip. hehe Grab each individual strip toward the center and twist just once or twice. There is no wrong way to really do this part. Make sure to be gentle or the paper will tare. This is time-consuming but I tried it without twisting and they don't quit flair out the right way.

There are two options for wire cutting: Cut your wire the length of how long you want the poof ball to hang or shorter and use something cuter to attach to the wire later for hanging.You can also use almost any kind of string. I tried thread but I was too rough with it so it kept snapping but curling ribbon could work and be better for cutesy hanging.

After all the pieces are twisted, begin gathering them. I just pinched them between my pointer finger and thumb as tight as I could. There were so few strips I gathered them all and then wrapped the wire around the center and knotted it. The next one I did, I wrapped the wire a little at a time. There was really no difference. If you can hold them all without dropping them, just wrap the wire at the end and save the wire.

Last step- fluff. You can just grab the wire and shack. For Real. This poofed the strips out pretty easily. Then I went back and pulled  a few pieces out where I wanted to fill in.

We used these at a shower but they could be cute in a bedroom or any party. Have fun!


Related Posts Plugin for WordPress, Blogger...
Pass it on:
  • Print
  • Facebook
  • Yahoo! Buzz
  • Twitter
  • Google Bookmarks
  • email