Advent {Day 4}: Homemade Gifts

Maggie's turn in the kitchen and as a guest blogger!
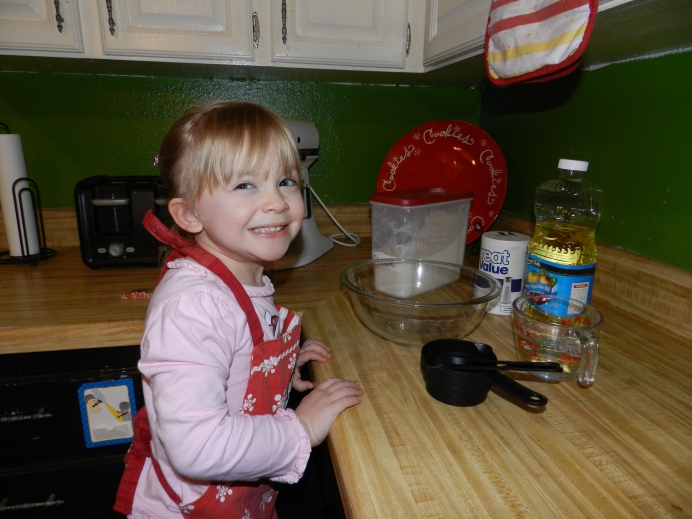
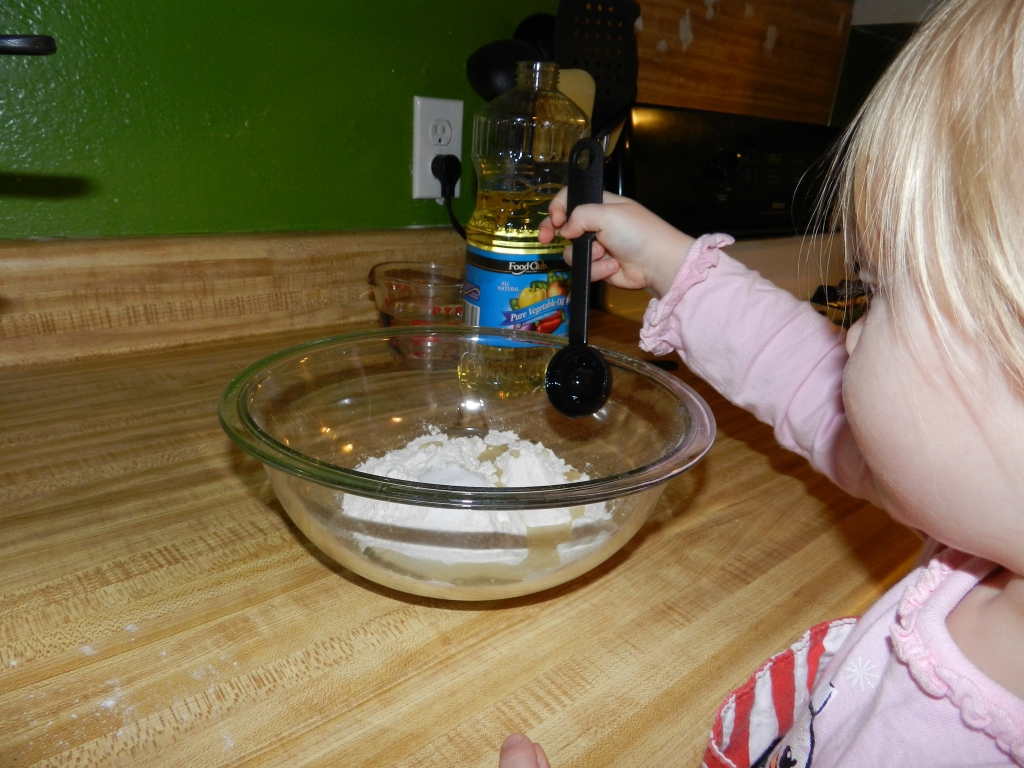
Hi, my name is Magdalene Reese! I am 3.5 years old and I love playing mamma! Today I'll be showing you how to make homemade playdough. You can share it like we are going to do if you want to. You can even print the labels my mamma made. Let's start with the recipe. It's the easiest one I've seen but then again...this is my 1st time making playdough.

Homemade Playdough

1 cup flour
1 tablespoon oil
1 teaspoon salt
Lots of teaspoons of Water

Directions

Dump flour in a bowl.

Add oil.

Add salt.

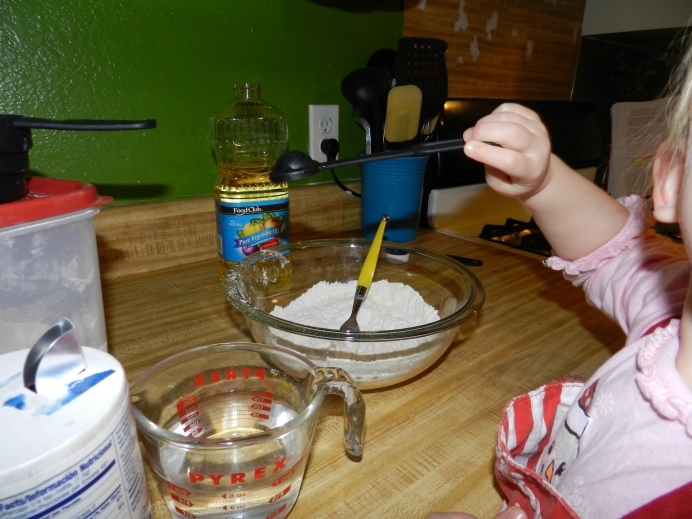
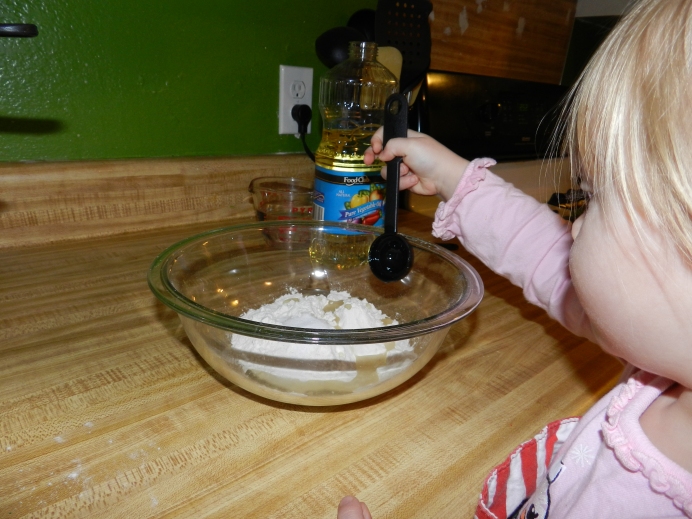
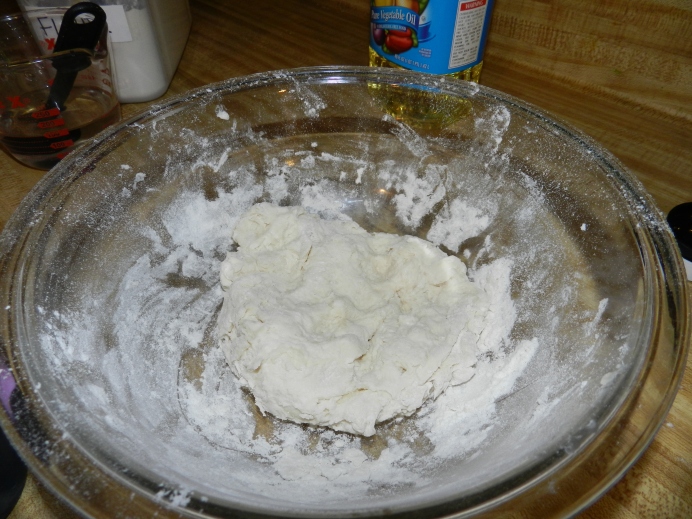
Add water until it's doughy consistancy. If it gets too sticky just add some more flour. {I like using a teaspoon or tablespoon to add the water from a larger measuring cup because it feels like I get to put way more ingredients in}

Mix with fork. Using your hands to need the dough gets it more evenly mixed {and it's more fun!}

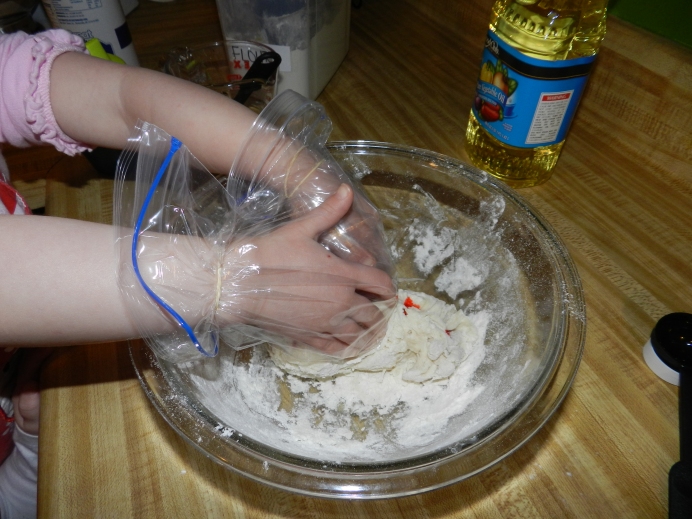
If you like things that are colorful like me then you might want to add some food coloring to your dough to make it prettier. I was afraid my hands would get stained from the dye so my mommie put plastic bags over my hands and held them on with loose fitting rubber bands.

After I had on my homemade gloves I needed the food coloring into the dough. We added a little water on top of it before needing it and that help spread the color better. We then added a little more flour to make sure it wasn't too sticky and it ended up looking kind of like peppermint! Perfect for Christmas gifts!

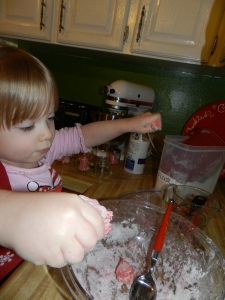
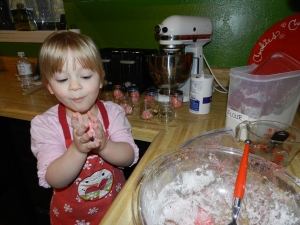
We divided up the dough up the dough and then rolled them into little balls to stick down into our jars.

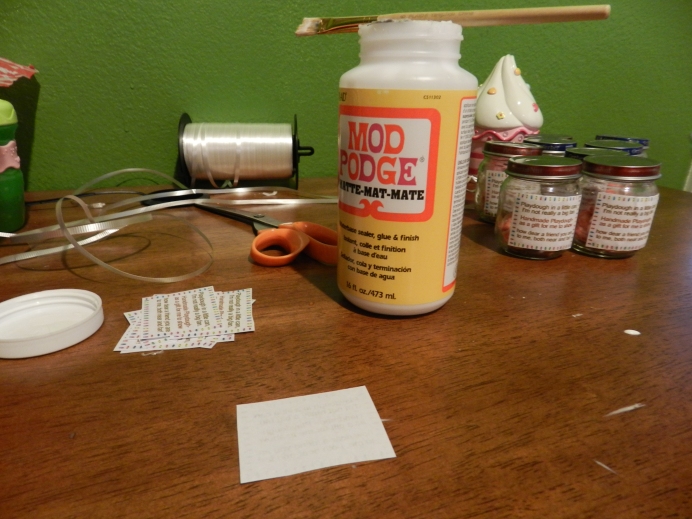
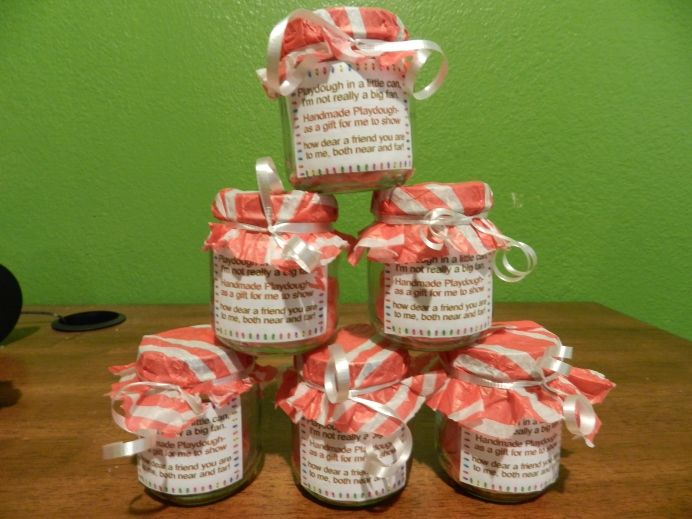
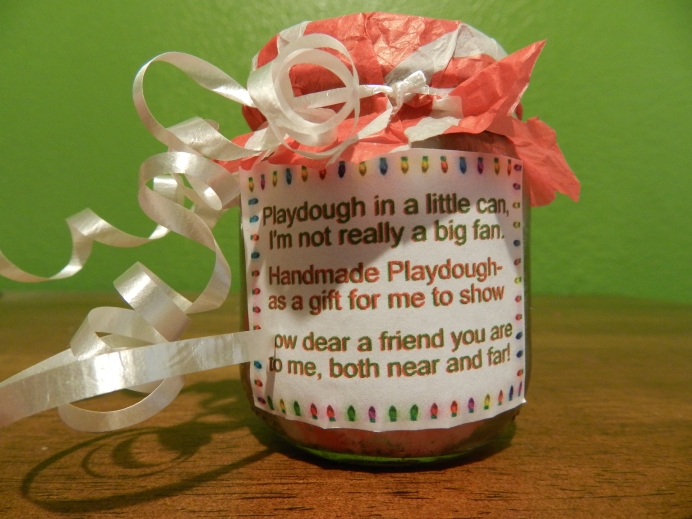
To give all my Sunday school friends a Christmas present we divided the dough into baby food jars and added a playdough poem. We flipped the label upside down, painted with mod podge, then rolled the jar across it {covering the remaining sticky residue from the original label}.

Then we cut tissue paper into little squares and tied them on around the lid with curling ribbon.

Click   Playdough Jar Printable for the printable label that fits baby food jars! Hope my friends like'm!

Thanks for letting me tell you about my 1st time making my own playdough!

What kind of homemade gifts to you like to make/receive?

To read more Rothacher's Advent Days click--->
Advent {Day 1}: Cookie Swap

Advent {Day 2}: Dizzie Izzie's
Advent {Day 3}: Giving Christmas Away
Share Button

Post to Twitter

Advent {Day 2}: Dizzie Izzies

As part of Advent we are doing MORE baking:

Hi! My name is Isabella Ruth. Some people Call me Izzie Ru, Izziebella, Iz but most call me Izzie. I will be 2 in January!

I have 2 siblings, a sister 18 months older than me and a brother 2 days shy of being 1 year younger. I love my family! Today was a fun day. Maggie, my big sister, went to our Nanna's house for her "Nanna Day". YAY! That means me and Mommie get to hang out. Shortly after Mags left, J went down for a nap and we started our fun.

Today we decided to make cookies for tonight's cookie swap! We searched through lots of recipes and landed on these:
{we had all the ingredients at home and didn't have to go out to the grocery store}

1st picture is where the recipe we used and the 2nd is the look we were going for.
If you know anything about my mom you know...it didn't turn out exactly like we planned ;o)

Holiday Icebox Cookies: {Renamed "Dizzie Izzie's" by my Mommie}

Ingredients

  • 1 1/2 cups (3 sticks) butter
  • 1 3/4 cups sugar
  • 1 teaspoon salt
  • 2 eggs, plus an extra egg white for "glue"
  • 3 teaspoons pure vanilla extract
  • 5 cups flour, plus more for work surface
  • 2/3 cup milk
  • 1/4 cup cocoa powder
  • Food coloring, in various colors

~~~~~I SUGGEST READING THE DIRECTIONS IN THEIR ENTIRETY FOR BETTER TURN OUTS THAN US~~~~~

Directions
Using the electric mixer, mix the butter and the sugar until creamy. Add the eggs
{we made the mistake of adding the extra egg white--> DO NOT do that! Save it for later.} and the salt, and mix well.
Beat in milk and vanilla.
Add flour a little at a time, mixing it in until all of it has been incorporated.
Let it mix well. Don't be in a rush. Don't forget to scrap the sides of your bowl to incorporate everything.
Grab a drink. Just watch it until it's well blended.

If you're like me, it will get a little messy. Have a towel nearby for cleaning up counter and you will want to wear an apron as well.
{Since we messed up by adding the egg white we tried to make the recipe less sticky by adding an extra cup of flour. If helped but didn't totally fix it. The reviews at the bottom of the recipe says it turned out sticky for some people who hadn't make our mistake so maybe our attempt at fixing it will help you if your dough is a bit sticky}
*We ended up chilled the dough for a long time! {over night to be exact} while we made our back-up cookies for the cookie swap. Find those here.
While {IF} you are waiting for you dough to thicken up by chilling it you can always take care of those babes or other chores you have.
Catch up on your emailing or blog reading!
Go get a pedicure!
When your dough is ready...
Divide the dough into balls, one for each color. We only colored 1/2 with red. But you can do lots of colors or even for chocolate dough, add cocoa (1/4 cup is enough to flavor half a batch). Mix well with electric mixer. For colored dough, start with 1/4 teaspoon food coloring, and mix well. Add more in tiny amounts for darker colors. Gel-paste coloring can be intense, so add it gradually.
Wrap each ball of dough in its own sheet of plastic wrap; pat flat into a rectangle. Refrigerate at least one hour or until ready to use.
Parchment or waxed paper makes a good work surface. Sprinkle generously with flour, then roll out each piece of dough 1/4 to 1/2 inch thick to make the swirls; you can use thicker layers for the bull's-eyes.
Have no idea what this thing was but they suggest using "The bench scraper". They say it "is a good tool for trimming dough's edges to make them even."
We just rolled our 2 colors out when painted on {yet another} egg white as glue. The egg white, brushed on with a pastry brush, will act as a glue, making the layers stick together.
{Sorry, we didn't picture the next few steps. It got a lil crazy. We needed both hands}
The recipe says, "For center, with your hands, roll chocolate dough into a 1/2- to 1 1/2- inch-thick rod; chill 20 minutes. Place rod on edge of rolled-out dough that's been brushed with egg white.
Roll rod inside sheet of dough. Cut the dough where it meets up. Seal by pinching and pressing gently. Chill 20 minutes, then repeat to add other layers. To decorate, go to step 7, or jump to step 8 for plain.
For spirals, measure and trim two or more colors of dough to same size. Brush on egg white, then stack layers. Brush top with egg white. Starting at one end, roll up the dough.
Smooth and straighten the layers as you roll them so there are no gaps, then gently pinch and press the edge of the roll to seal it. Now the dough is ready to decorate."
{We didn't have a "1/2-1 1/2 inch-thick rod and failed to read about how you should chill {again} before laying}
DON'T HAVE A ROD???
After they were rolled out, we picked up the entire red layer and plopped it on top of the entire white layer, attempting to make them as even as we could.
We then trimmed any edges that didn't have a layer of each color.
Now that we had a double-Decker block, we scooped one end up off the counter using a Rachel Ray scrape shovel tool. We used some flour between the scrape shovel and the dough as we scooped it off the counter as we rolled.
We we had one weird looking roll we chopped it into 3 sections {the middle looking the best as opposed to the sprawling end pieces}
Each roll as wrapped in some parchment paper and frozen for a few hours. While you wait you can of course go read a good book or some relaxing activity you enjoy.
When the dough was set we were so ready to bake and eat them we almost forgot to add some toppings.
The original recipe says, "Add your favorite toppings (try coconut, colored sanding sugar, chopped nuts, or chocolate sprinkles): Spread topping in baking sheet, brush dough with egg white, and roll the log in topping."
but if you haven't learned anything about our baking skills, we don't always follow along well.
We started chopping cookies off the logs using the ____ before rolling in sprinkles and we definitely forgot the egg glue.
After quickly dabbing the edges and the tops of the cookies in sprinkles off of a cookie sheet before chunking them on a sprayed pan and baking for about 10min @ 350'.
Here is our cookie turn out:
Not too shabby.
What did you do with those pieces you cut off at the beginning you ask?
Chop them up!!! Yep, chop them and then bake them for ~10min @ 350' as well. This is the cookie version of chips and dip!
You could hand out little bags of these with a can of frosting to friends or just have a bowl of them out at your party with a bowl of frosting next to it! The more colors you have the more festive!
Other helpful hints to help your cookies turn out better than our from the original recipe are: "Roll each log in parchment or waxed paper; twist the ends of the paper closed. To help the logs keep their round shape, set each in a cardboard paper-towel roll that you have sliced open lengthwise.
To remember what colors you have already used, with crayons, draw the designs onto key tags; tie the tags onto the paper covering the logs. Chill logs until they are solid, about 1 1/2 hours.
Cut 15 inches of dental floss (or double thickness of thread). Let log soften for about 10 minutes. Remove parchment. Wrap floss around log and pull through. Make the slices thin: 1/4 inch or less.
Preheat oven to 350 degrees. Place slices on an ungreased baking sheet (lined with parchment paper). A grown-up should bake the cookies 12 to 15 minutes, until firm but not browned. Let cool on baking sheet for several minutes, then transfer to a wire rack."
~~~
Thanks for reading my, Izzie's, 1st baking adventure. Share your failures, successes, or redeemable baking adventures!
To read more Rothacher's Advent Days click--->Advent {Day 1}: Cookie Swap
Share Button

Post to Twitter

They have the same birthdays AND anniversary???

This post is for my amazing parents!

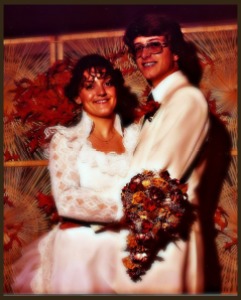
Today is their birthdayS {and I do mean both of them}!!! And if that's not crazy enough, it's their anniversary as well! Yep, they got married ON their 20th birthday! Can anyone say CAKE - a wedding cake AND 2 birthday cakes!

HAPPY 50th Birthday AND Congrats on your 30th Anniversary, Mom and Dad! Praying for many more.

LOVE YOU!!!

Share Button
Related Posts Plugin for WordPress, Blogger...

Post to Twitter