How I Made (& Use) My Preschooler’s Routine Chore Chart

This year my goal is to get my house in order! You know what I mean, everyone running on a comfortable routine that keeps things moving, but with room to grow.

Paper Pushing.

One of the things I made last summer was this chart, for lack of a better term, for my oldest daughter {3.5-years-old}. She is always asking, "What are we doing next?" "What are we doing today?" "Can I do _____ now?" She is also a huge help with some things if I have the time to train her how as well as reminder her to do them. I'm praying that, with a little consistency on my part, these tools can help our entire household stay in order this year.

Check out the step-by-step process to making and using this routine chore chart as well as FREE PRINTABLES so you can make one for your home simply and easily. I'm sharing all of this over at the homemaker's challenge. While you're over there, you should check out all the other GREAT new years posts! {Homemaker's Challenge F-R-E-E Recipe eBook coming soon!}

How is your new year going? Start the conversation below!

Share Button

Post to Twitter

Advent {Day 11}: Relentless Christmas Party

Did I mention our month of December is PACKED with Parte's!?!?!

Some times it may be overwhelming preparing for each one, remembering what I'm supposed to take, when we're supposed to be, and where it's hosted {1/2 are @ my house...that would be BAD if I forgot}. We are having lots of fun so far though. My kids LOVE going! Izzie wakes up every morning asking to put on her shoes and "ja-ket!" and Mags keeps asking if today is "Jesus' birthday!?" I have to remind her we are still in the fun, preparing part of December in anticipation for His big day!

In anticipation we've baked TONS, made lots of homemade gifts, gone shopping for a needy family, prepared Operation Christmas Child boxes, bought our personal family gifts in their honor, attended a deacon/staff Christmas dinner, shopped for Angel Tree children, and hosted our 1st outrageously fun party!

Just to give you a peek into our party, I'd like to teach you how-to play "Dirty Santa"!

PREP:

  1. Ask everyone attending your party to bring a generic gift ~$10.00 {if hosting, have a spare just in case someone forgets}
  2. When guest arrive, place all gifts in one place {on a table or under the Christmas tree}
  3. After everyone has arrive, munched on some goodies you are ready to play!
  4. Have everyone sit together in a circle {or simi-circle}
  5. Have numbers {according to the number of gifts/guests} in a hat to draw
  6. Everyone draws a number

RULES:

  1. Start the game with the person who drew #1, they chose a gift to open
  2. #2 get the choice to steal #1's gift or pick new gift to open
  3. Each person after that can steal a previously opened gift or may open a new gift
  4. If a person's gift is 'stolen' they may not steal directly back but may steal someone elses or chose a new one to open
  5. once a gifts been stolen 3x it's frozen
  6. once all the gifts have been open #1 has the last chance to steal
  7. ANY QUESTIONS?
  8. Let the merriment of stealing begin ;o)

Helpful Suggestions for selecting THE gift that wants to be stolen by all:

  1. Gift Card {Sonic Happy Hour makes $10 go a LONG way!}
  2. Toy
  3. Silly Info-mercial item

What take on "Dirty Santa, Yankee Swap, Chinese Gift Exchange, Thieving Secret Santa, Parcel Pass, Christmas Swamp Thing, or Pollyanna" do you and yours have? PLEASE SHARE!

To read more Rothacher's Advent Days click--->
Advent {Day 1}: Cookie Swap

Advent {Day 2}: Dizzie Izzie's
Advent {Day 3}: Giving Christmas Away
Advent {Day 4}: Homemade Gifts
Advent {Day 5}: HIPPY Christmas Party
Advent {Day 6}: The Fridge 
Advent {Day 7}: Sprinkle Joy @ Home
Advent {Day 8}: UpCycle Gift Wrap
Advent {Day 9}: Sugar Cookies (Gift Ideas Series)
Advent {Day 10}: Snack Mix (Gift Idea Series)

Share Button

Post to Twitter

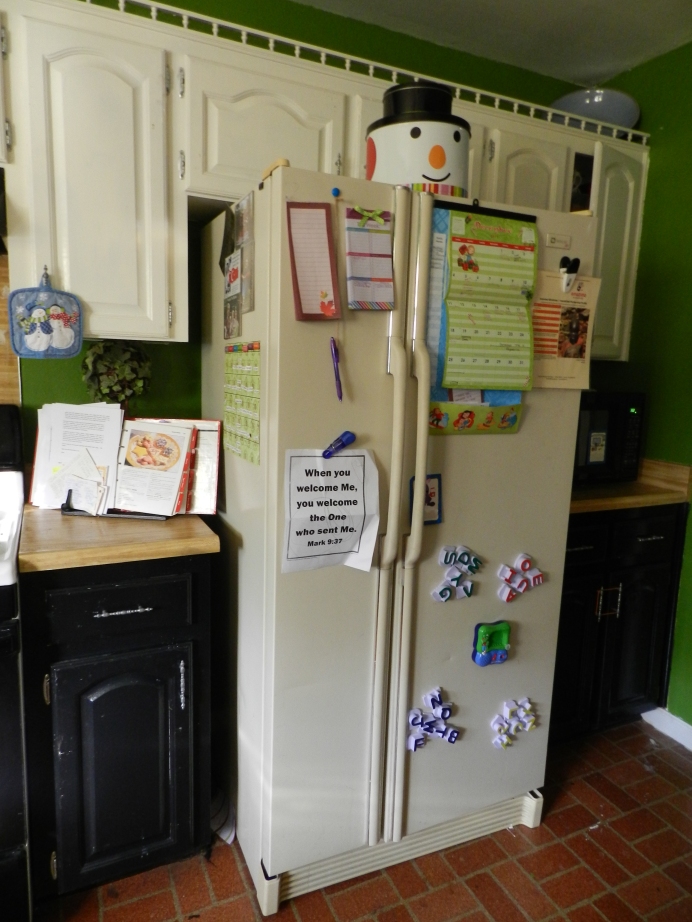
Advent {Day 6}: The Fridge

I know this is not your typical Advent day but it's something that needs to be done in "a time of expectant waiting" of  and "preparation for the celebration of the birth of Jesus Christ at Christmas.

Cleaning out and Organizing your refrigerator in precautionary measure that needs to happen in anticipation of the celebratory gifts that need to be stored and/or it's leftovers. As you are cleaning don't forget to Thanks God for all that He has provided!

If your fridge is a disaster right now that's fine! The majority of homes in America are. Here is how I suggest starting the cleaning process:

  1. Take EVERYTHING out placing then on an empty counter
  2. Organize as you pull things out: meats, veggies, fruits, cheeses, entries, trash/expired, condiments, drinks, etc.
  3. Wipe them all down as you pull them out so they won't have that fridge gunk on the bottom when you go to put them back in your clean fridge

Now that you have a nothing but the sticky piles, puddles and dried on yukies Start with your drawers:

  1. Pull all your drawers out
  2. Wash them inside and out with hot water and multi-purpose cleaner over at your sink 
    {or in a bathtub for less splatter clean up or if you have limited counter space}
  3. Let the drawers air dry on a giant bath towel {or over the edge of you tub} while you work on the shelves, trays, and walls
    {you can always hand dry the rest of the way before re-inserting}

Now that those are drying work on the nasty inside:

  1. grab a bow of HOT water, multi-purpose cleaner, dishcloth/spung, and maybe even an old used toothbrush {for the OCD}
  2. spray everything: each shelf, trays in the door, and wall {extra coat for the piles, puddles, and yukies}
  3. start scrubbing from back to front and from the top down {this will help you end up with one giant pile of ... yeah at the end.
  4. Make sure to rinse your dishcloth or spung often keeping the dishcloth warm/hot so it will steam off that cold blah that been growing for a while

WA-LA! Just like new...well, hopefully ;o)

Now here's the fun part...putting things back in an organized manner. WHY?

  1. To help yourself keep it organized {especially with the rapid amount of things that will be coming in this season}
  2. You, your kids and your spouse will know the general area to find things
  3. You'll know when things need to be thrown out!

Hopefully you've got items sorted and wiped down already, if not, do it now. Now that you think you are about to place everything back in, there's one more thing that needs to become a habit when putting ANYTHING into your fridge:

  1. Have a "Throw It Out" rule about how long things can stay in your fridge {mine is ~1  month depending on the item, and the printed expiration date for those that have it}
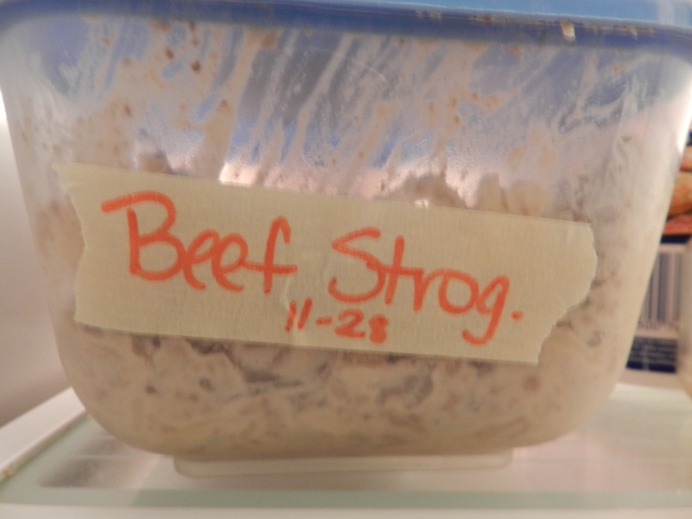
  2. Label containers with what it contains and the date it was made/stored on the side of the container {easily visible}
    {I like to keep a roll of masking tape and a fun colored pin in the drawer next to the fridge for colorful, handy labeling}
  3. OR Label using the the "TRASH IT" date--> look at the calendar and label the date it needs to be thrown away
    {we usually eat our's before then}
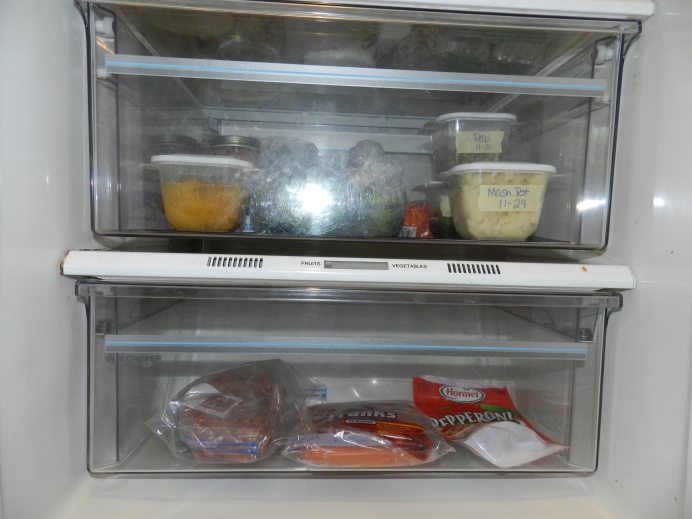
    {*side note: I like to label veggies on top of their lid so can quickly see them when looking down into the drawer}

After everything is sorted, clean and labeled your going to have to decide where the most convenient place is for your most used items OR the best fit:

  1. Some fridge, like mine, already have labeled drawers: "meat", "fruit/vegetable", and "cheese". Use them for that.
  2. This might not work for everybody because you may have way more cheese and meat than the labeled drawers allow. If that's the case and it bothers you to have the wrong labels...relabel if you want.
    {see how having them labeled lets you quickly see what you have and by putting even the veggies in containers into the drawer, you've saved yourself the shelf space}
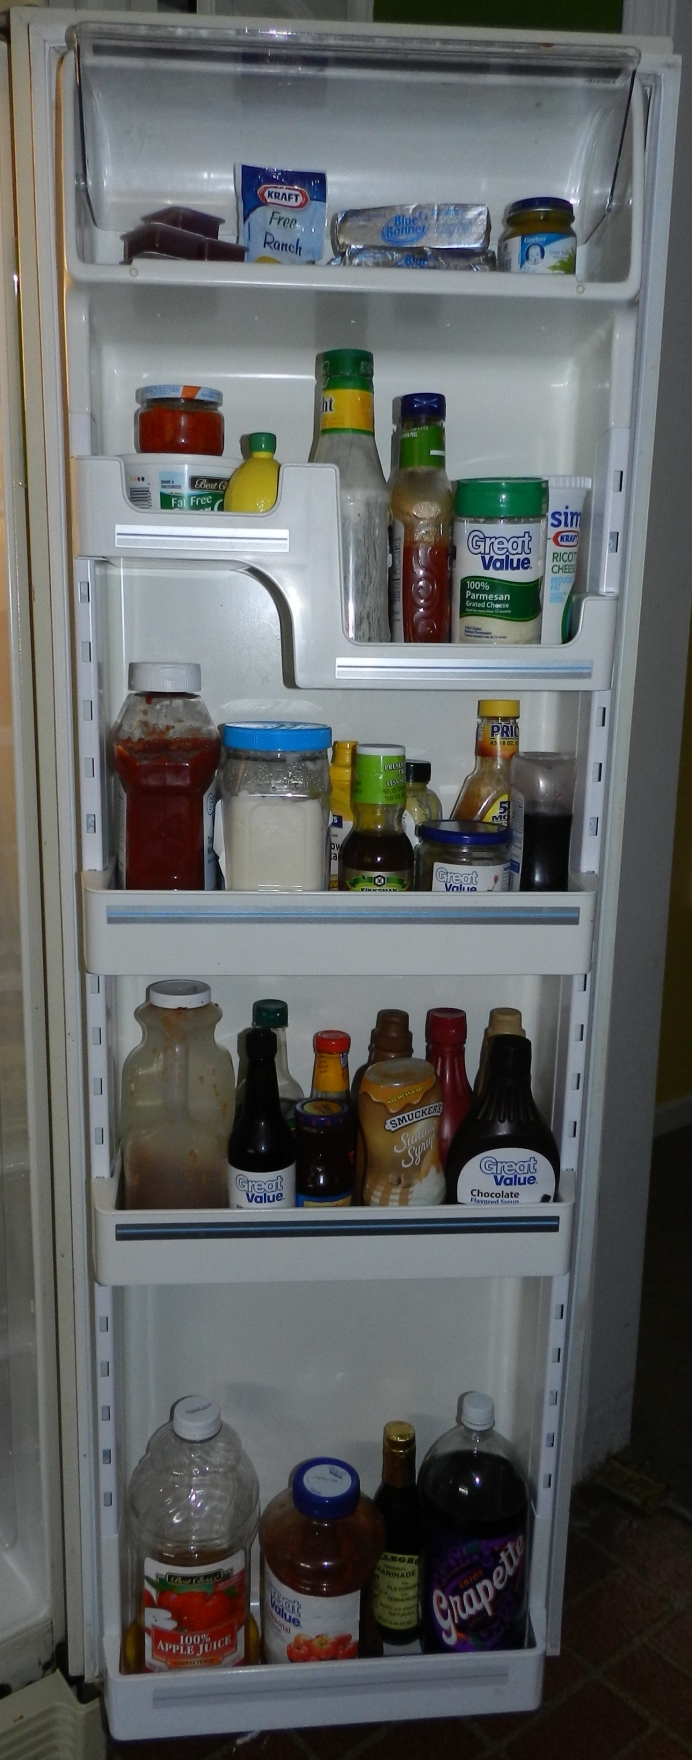
  3. Place condiments that fit into the door {tallest to shortest}{side note *I like to keep my stick butter in the door so it's closer to room temp when I decide to back since that's the only thing I use if for}
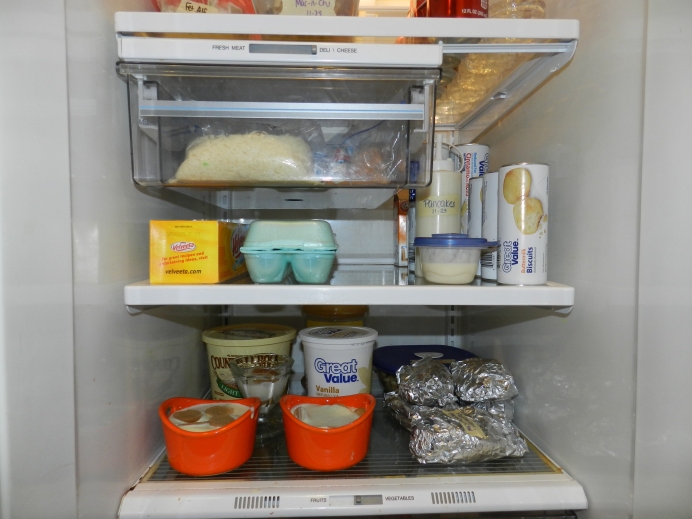
  4. Store other items in the logical space they will fit in. Most fridges have adjustable shelves and trays so move them around and see what works for you.
  5. Large items like milk, juice, or 2 leader bottles fit the best on the top shelf or bottom door tray for us.
  6. Smaller items like eggs can fit under drawers or on shorter shelves.
  7. Make sure to put milk product IN the fridge on a shelf, not in the door for safer temperatures!

How to get rid of left overs:

  1. Leftover lunches! {we do this most days: makes for fast prep!}
  2. Let you Kids choose their meal {let them be creative by making odd combinations-->rice, hotdog, and yogurt}
  3. Use them to help you decide what's for dinner {add a side or entre is easier than making an entire meal}
  4. Snacks
  5. Host more guests for meal times!

I hope these tricks we try to use help you keep that refrigerator rotating in and out yummy food this season!
Have any suggestions to add? Please share in the comment section!

To read more Rothacher's Advent Days click--->
Advent {Day 1}: Cookie Swap

Advent {Day 2}: Dizzie Izzie's
Advent {Day 3}: Giving Christmas Away
Advent {Day 4}: Homemade Gifts
Advent {Day 5}: HIPPY Christmas Party

Share Button

Post to Twitter

Advent {Day 4}: Homemade Gifts

Maggie's turn in the kitchen and as a guest blogger!

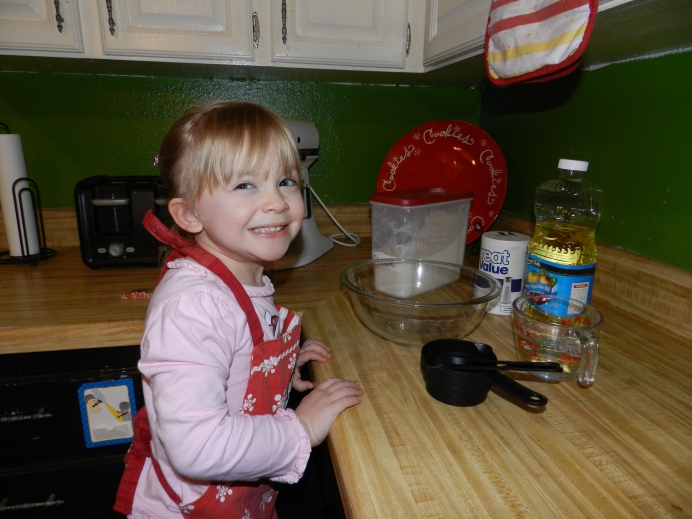
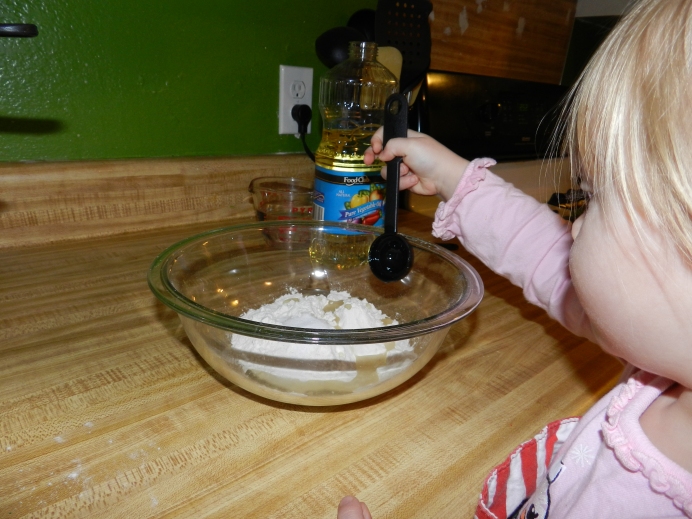
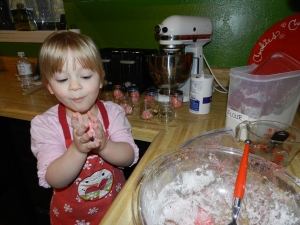
Hi, my name is Magdalene Reese! I am 3.5 years old and I love playing mamma! Today I'll be showing you how to make homemade playdough. You can share it like we are going to do if you want to. You can even print the labels my mamma made. Let's start with the recipe. It's the easiest one I've seen but then again...this is my 1st time making playdough.

Homemade Playdough

1 cup flour
1 tablespoon oil
1 teaspoon salt
Lots of teaspoons of Water

Directions

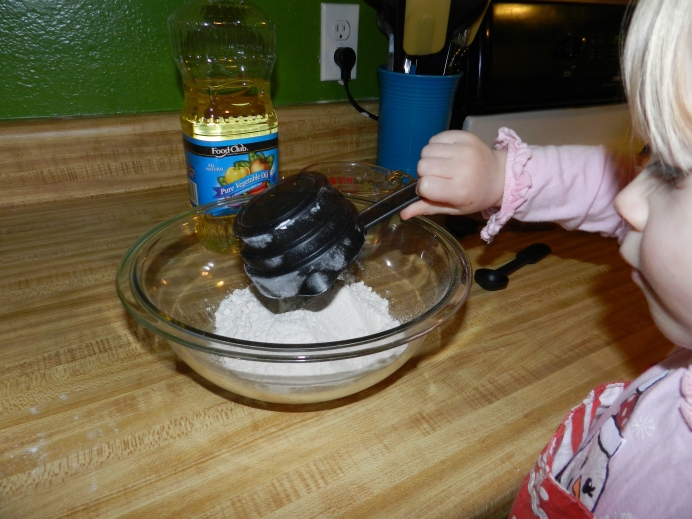
Dump flour in a bowl.

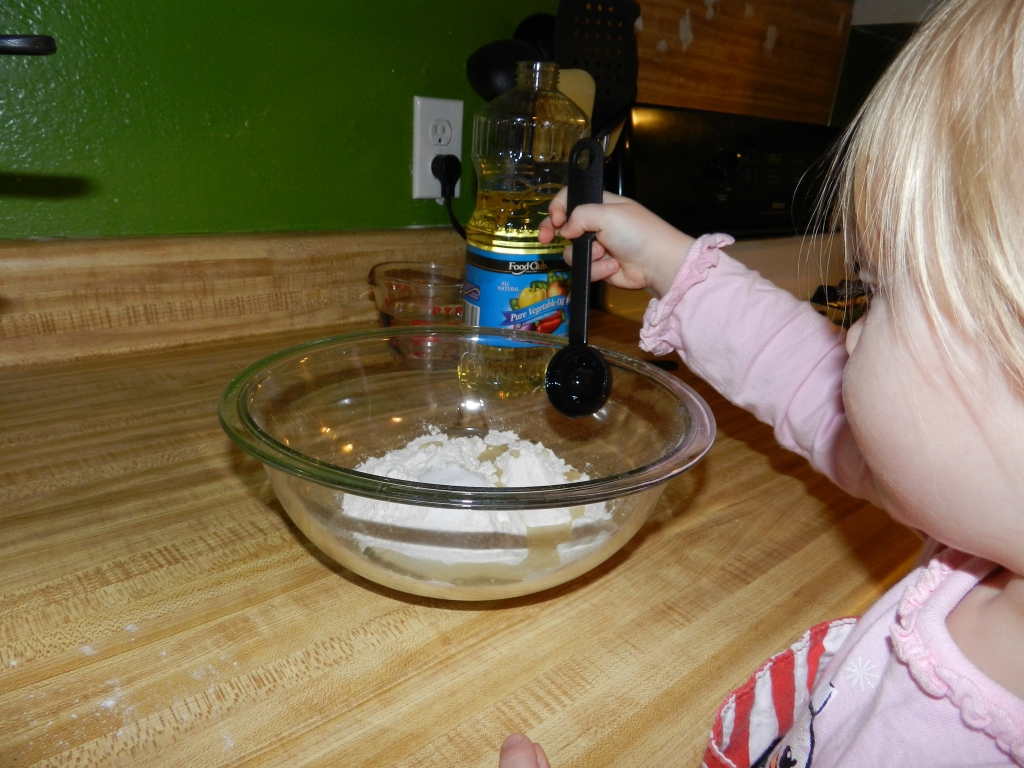
Add oil.

Add salt.

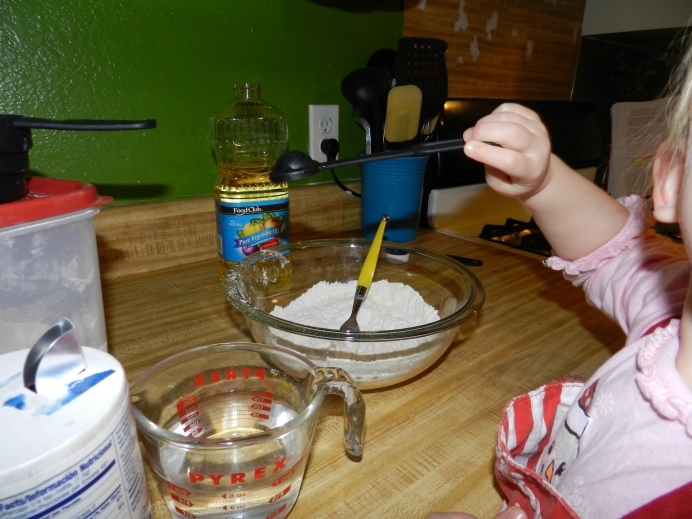
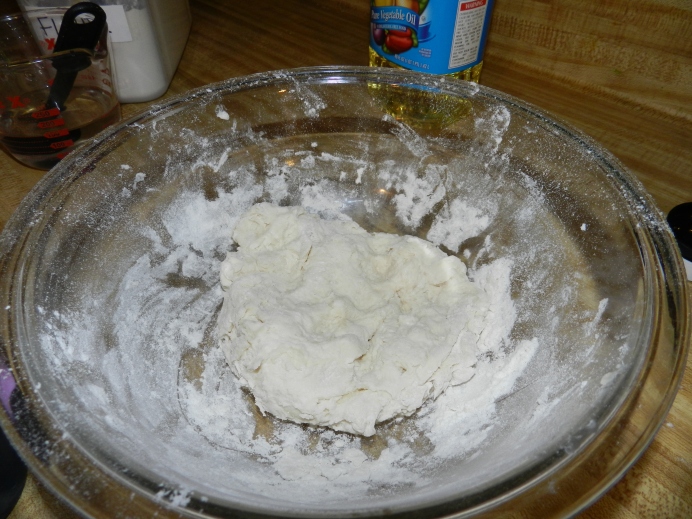
Add water until it's doughy consistancy. If it gets too sticky just add some more flour. {I like using a teaspoon or tablespoon to add the water from a larger measuring cup because it feels like I get to put way more ingredients in}

Mix with fork. Using your hands to need the dough gets it more evenly mixed {and it's more fun!}

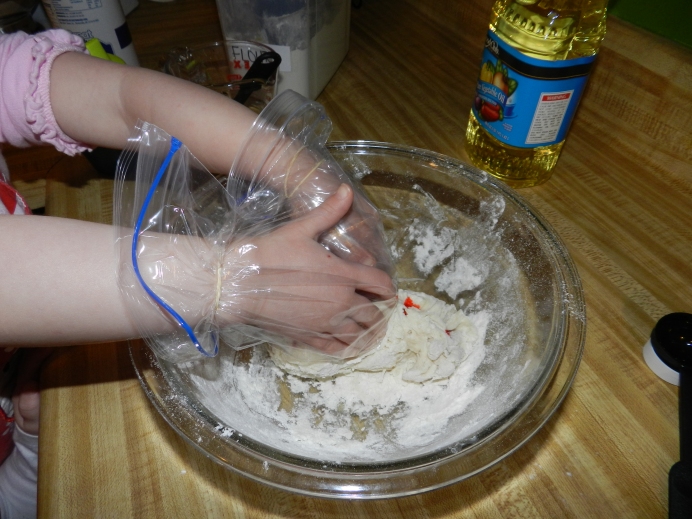
If you like things that are colorful like me then you might want to add some food coloring to your dough to make it prettier. I was afraid my hands would get stained from the dye so my mommie put plastic bags over my hands and held them on with loose fitting rubber bands.

After I had on my homemade gloves I needed the food coloring into the dough. We added a little water on top of it before needing it and that help spread the color better. We then added a little more flour to make sure it wasn't too sticky and it ended up looking kind of like peppermint! Perfect for Christmas gifts!

We divided up the dough up the dough and then rolled them into little balls to stick down into our jars.

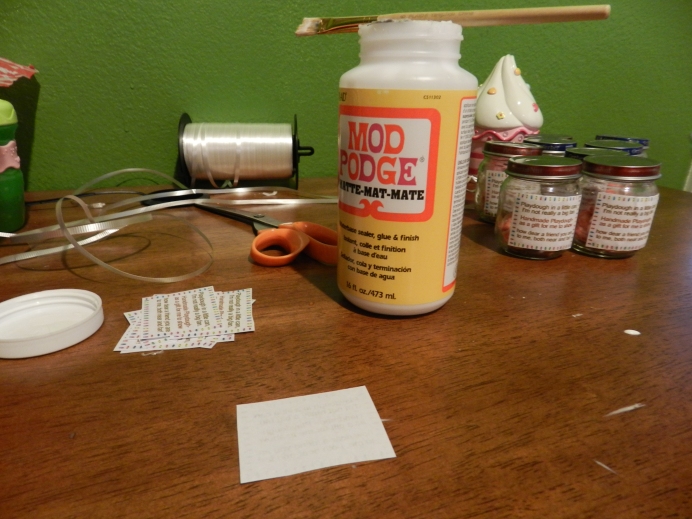
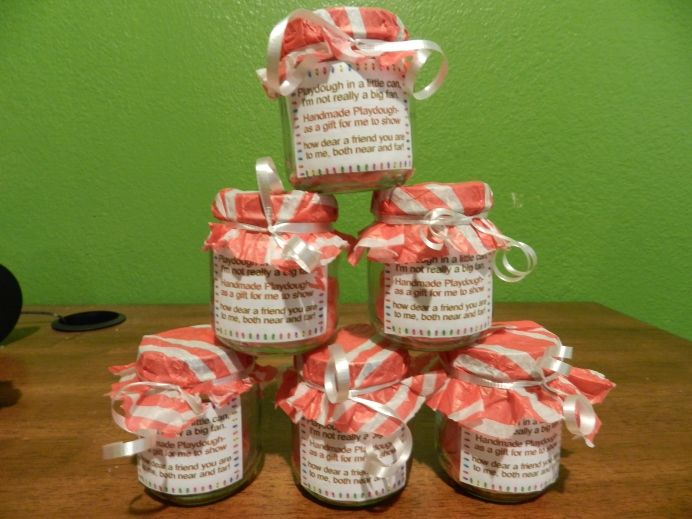
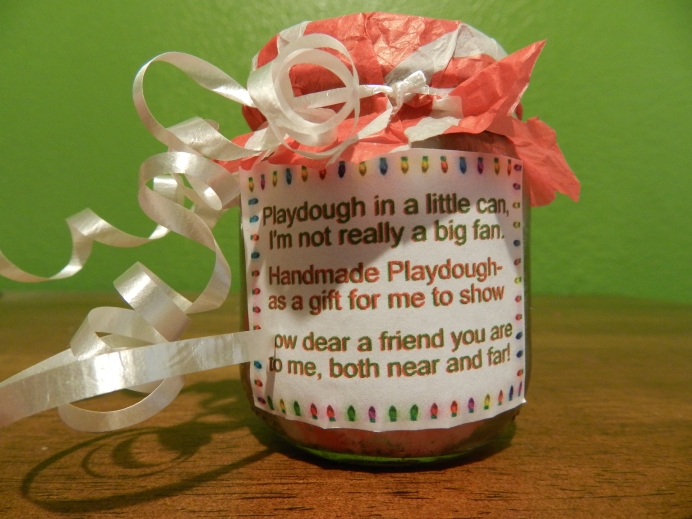
To give all my Sunday school friends a Christmas present we divided the dough into baby food jars and added a playdough poem. We flipped the label upside down, painted with mod podge, then rolled the jar across it {covering the remaining sticky residue from the original label}.

Then we cut tissue paper into little squares and tied them on around the lid with curling ribbon.

Click   Playdough Jar Printable for the printable label that fits baby food jars! Hope my friends like'm!

Thanks for letting me tell you about my 1st time making my own playdough!

What kind of homemade gifts to you like to make/receive?

To read more Rothacher's Advent Days click--->
Advent {Day 1}: Cookie Swap

Advent {Day 2}: Dizzie Izzie's
Advent {Day 3}: Giving Christmas Away

Share Button

Post to Twitter

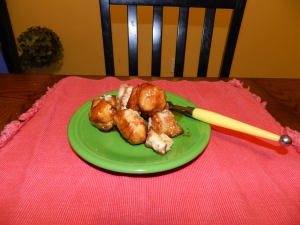
Monkeybread Breakfast

Totally unhealthy but yum-scrum-diddly-umpsious!

I found this amazingness on Pinterest but adjusted the recipe a little.
I don't think there's a meal I haven't 'adapted' for our family... Anyways; feel free to adjust my recipe:
 
1 small tubes refrigerator buttermilk biscuits (I use 'cheap brand')
1.5 Tbsp. margarine, melted
1/4 C. syrup
4 Tbsp. packed brown sugar
1/4 tsp. cinnamon
 
Spray a pan with non-stick spray. Preheat oven to 375'
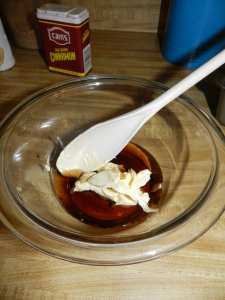
Combine the melted butter and syrup in a small bowl and set aside.
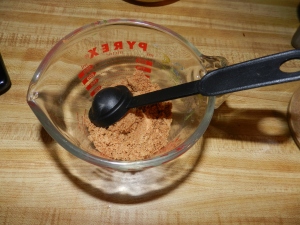
In another bowl, combine the brown sugar, and cinnamon.
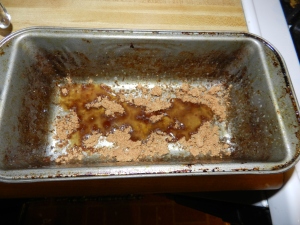
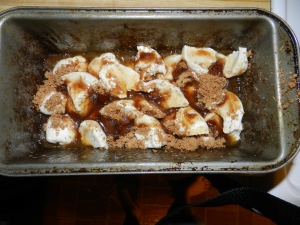
Place about half of the syrup mixture in the bottom of the pan. Then sprinkle half of the brown sugar mixture on top.
Tare the biscuits 4ths (ball them up if ya want) and make a layer on the bottom of the pan, overlapping edges (closely together)
Top with syrup and sugar mixtures. Then make another layer of balled biscuits, syrup and sugar mixtures.
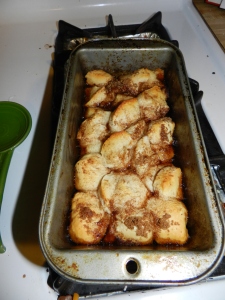
Bake at 375 degrees for approximately 20 minutes or until golden brown.
Cool for 1 minute in the pan, then invert onto a serving platter and enjoy!
You really need to try these soon!! Maybe for Christmas breakfast??? It's a good excuse to eat completely unhealthy. Enjoy!
 
What is your family's traditional Christmas Breakfast?
Share Button
Related Posts Plugin for WordPress, Blogger...

Post to Twitter