Eating Rice and Beans for the Month of Love

Have I mentioned how awful our Monday Nights are? Yeah, I don't like them.

image

For the first couple months of transitioning to Manic Monday evenings, our 2 "big" girls and the parent who took them to dance and gymnastics grabbed fast food between classes. It was the easiest chose, saved me from having to think up and pack something that would last for a couple hours in a picnic bag before eating, allowed us time to grab some groceries in between classes most weeks, and to be honest was kinda fun.

Then Monday, February 1st 2016 happened.

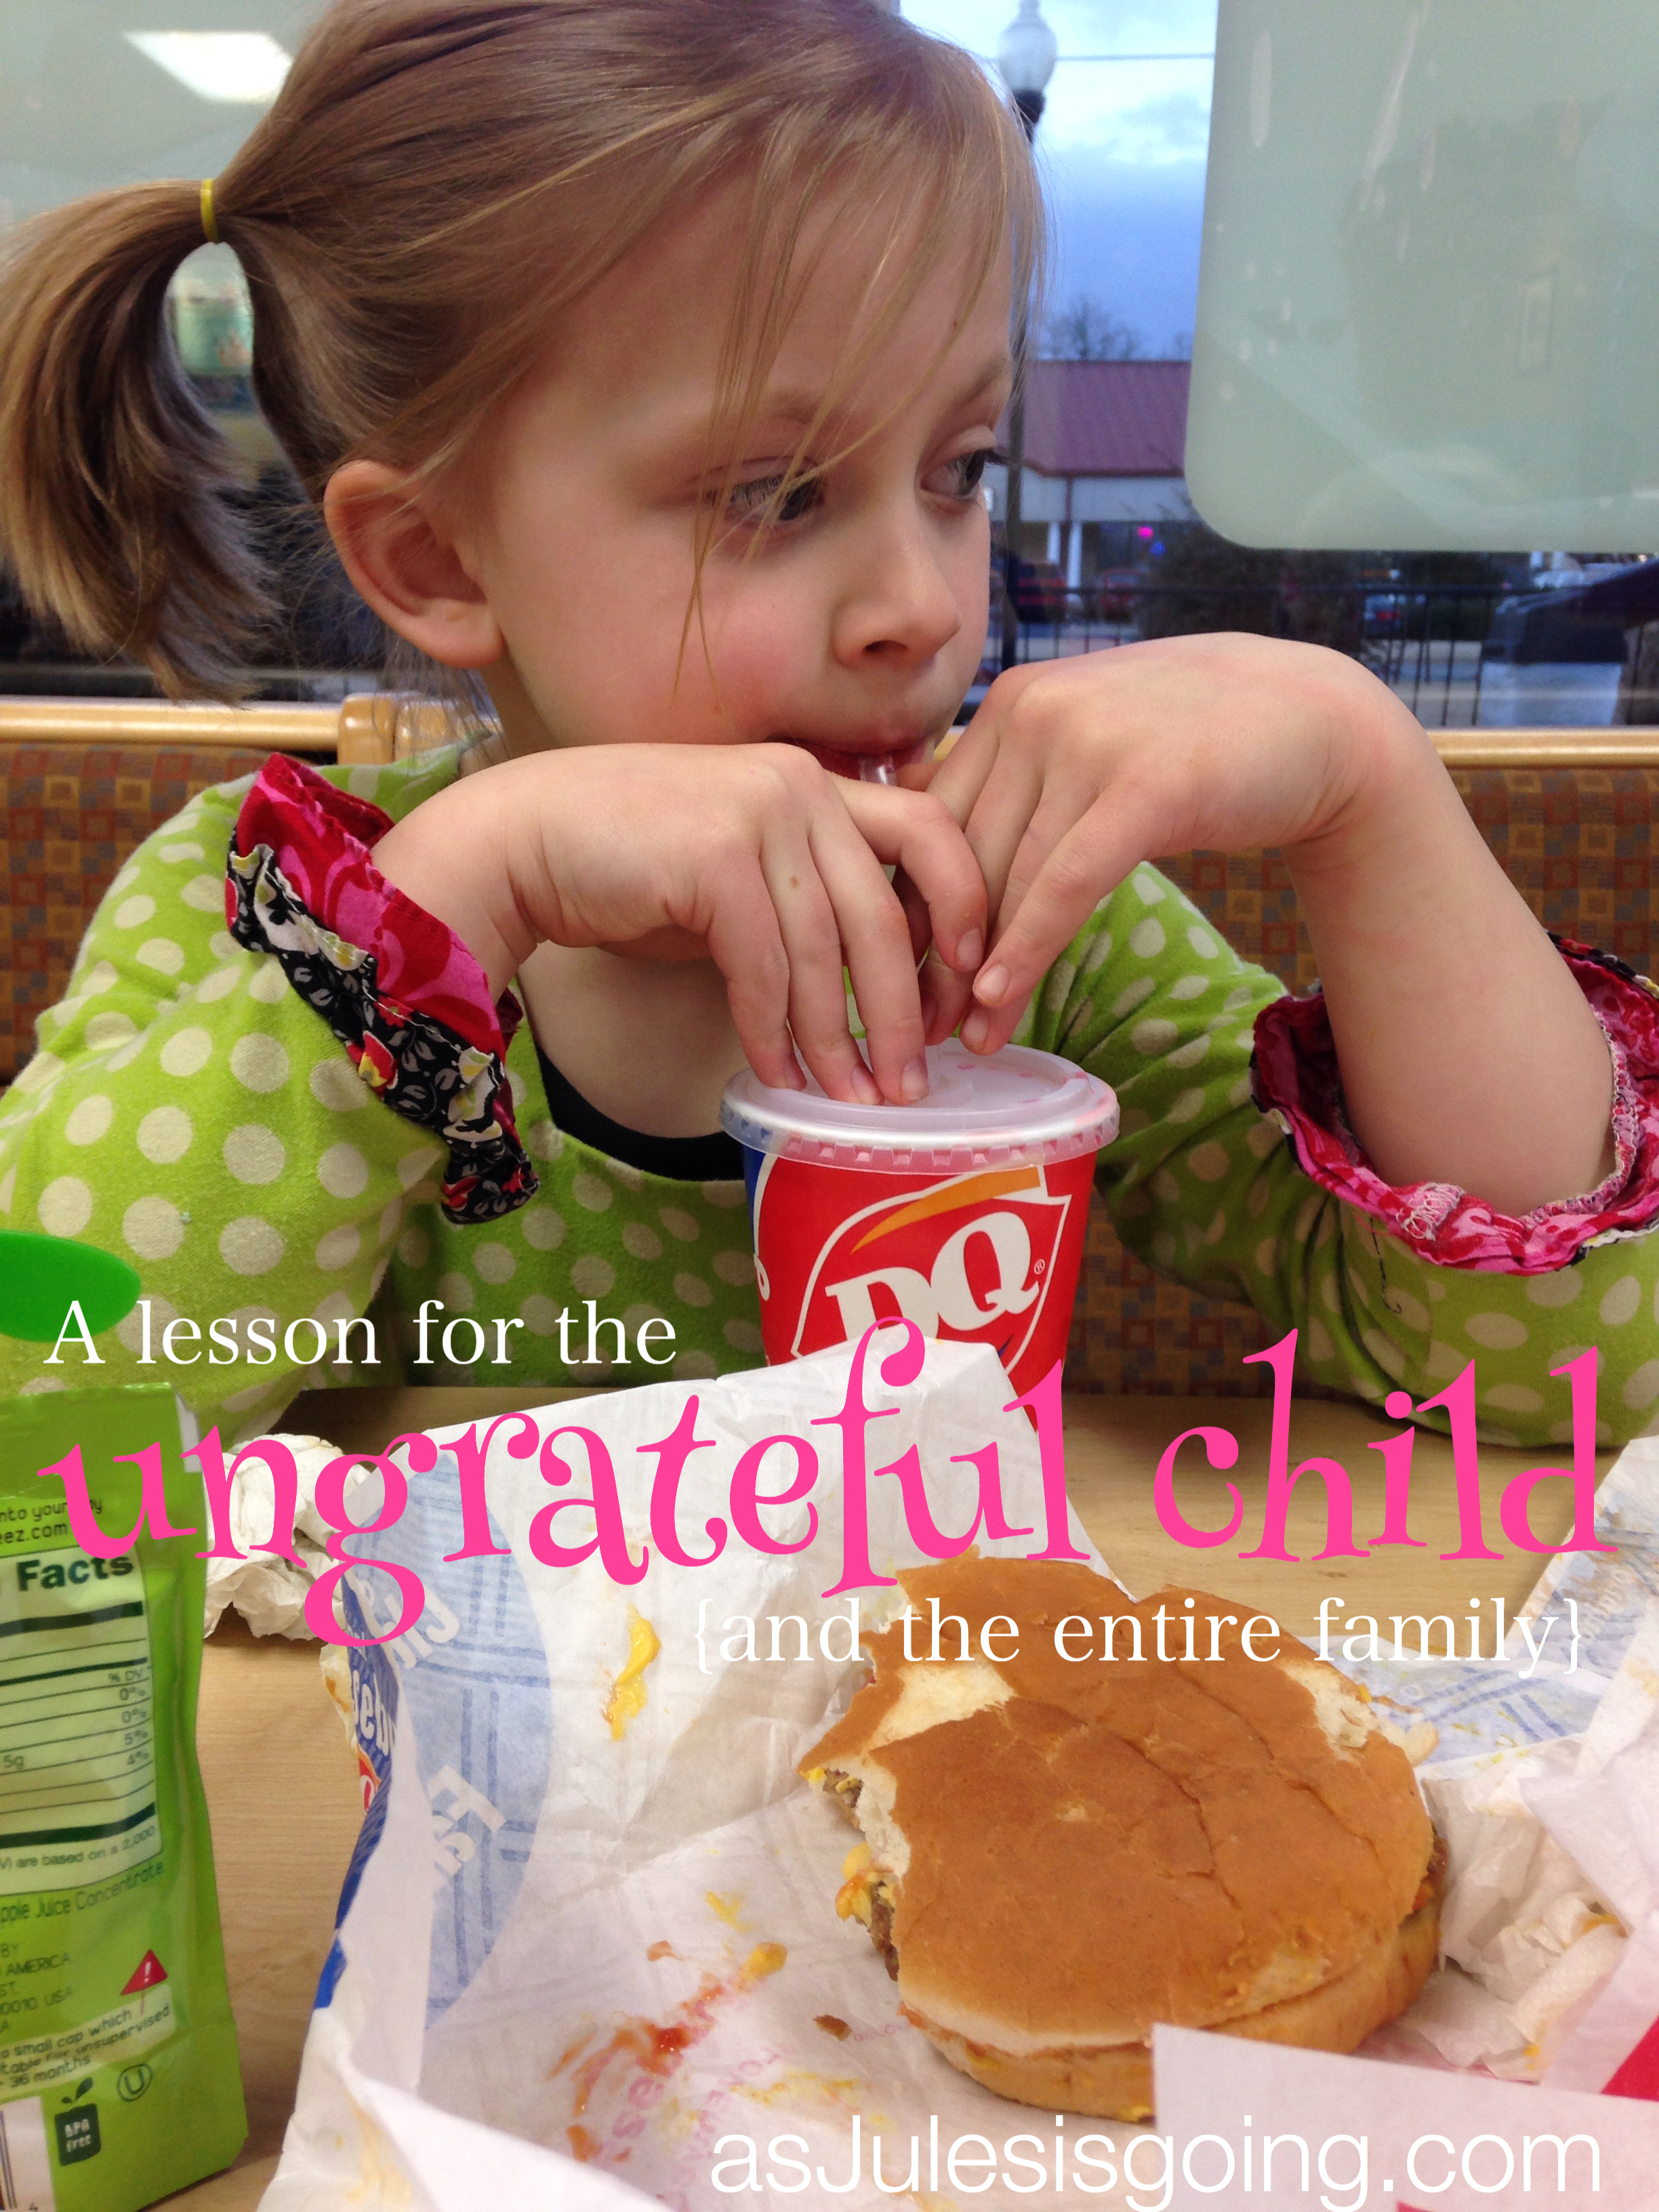
We finished dance class, scurried around the corner to the Dairy Queen, because it was the closest fast food restaurant and the girls had never eaten there before. While staring at the menu trying to decide how to order the cheapest {we often share meals and get waters} I realized one of the main factors we have never eaten there...$$$. I couldn't find a cheap alternative so I chose to 'go big' and get everyone their own meal With drink. WOW! When we finally sat down to eat with little time to spare before having to be back for gymnastics, the girls opened their kids meals to find Mustard and onions on the burgers.

The world as we knew it had apparently shrunk up and therefore ended that night. There was whining, nashing of teeth, pouting, and fit-throwing when I explained that I would help them wipe the mustard and onions off but I wasn't going to take the burgers back. There wasn't time and they needed to learn to be thankful, better yet, GRATEFUL that we were beyond privileged to eating out weekly, especially between our not-so-cheap "extra curricular" that are paid for my their grandparents. {HELLO!}

I was appalled. I couldn't believe I'd created such entitled children. We've gone to extreme measures such as

  • minimizing the number of toys they have, never buying just-because toys
  • paying "commission" for chores to help them learn budgeting as well as having just-because-you-live-here chores
  • doing the 30 hanger challenge along with only buying clothes from consignment events
  • only allowing a single "extra" and only when they're 5 years old
  • having them always share rooms
  • becoming a foster family as a way to serve and open discussion about struggles we may have never known

and the list goes on and on. Where had I gone wrong?! Where was the "thanks for the pricey burger mom!"?

I continued to fume as I took my gymnast to her class and my dancer grocery shopping with me. I text my hubs and angrily announced, "Mags has just earned the family a week of rice and beans. Ungrateful, over-privileged, punk was non-stop complaining about the mustard on her expensive burger."

After talking through the awful night with my hubs, the decision was made to do a month of teaching through rice and beans lunches for a month supplemented with videos about children in 3rd world nations that have to eat this meal, videos about ministries that help these children, and lots and lots of conversations about how privileged we are.

One Month of Rice and Beans for Lunch one families attempt to learn gratitude

Negatives to the month-long lunches of rice and beans:

  • although our children understood the basic idea of why were were doing it, selfishness still exists
  • even with major efforts to make the experience a teachable time, it still ended up feeling like a punishment to the kids
  • our stomachs suffered...I have to admit that the last few days, I had to skip lunch or alter the meal by just eating rice with milk or something to try and finish out the month.
    This isn't the healthiest meal to provide children in poverty but it is the cheapest. 

Positives to the month-long lunches of rice and beans:

  • simple menu planning- we already have the same things, depending on the day of the week for breakfast and similar things for the night of the week for dinner
  • less than 10 minute meal prep- we cooked the rice/water for about 7-8 minutes in our large micro-cooker and the can/can and 1/2 of beans for about 2-3 minutes in our small micro-cooker. {side note: we use these almost daily for lots of recipes including browning our mix'n chopped meat. You can find them HERE.}
  • low grocery bill- we went through 2 large boxes of minute white rice and close to 35 cans of beans {mainly black but some great northern}
  • my kids could Easily help with making lunch
  • no options- there was less and less fussing about what we were having because they just knew what lunch was going to be. They could eat a little of it or a lot of it {I've seen similar effects with scheduling routine meals other times}
  • we all learned how privileged we are- all of us, even parents quickly saw how we were accustomed to having too many options when we didn't feel like eating something
  • we became more grateful for the gazillions of options we have
  • we became more interested in ministries that can help children without our options are are hoping to use money we saved on groceries to support them a little

What are you main concerns with scheduling an intentional rice and beans meal with your family?


I found very few simple recipes to try and switch up our lunches during the month of February. Most recipes I found on Pinterest only differed in the way they prepared the rice/bean {ie in a slow cooker or pot on the stove} Our fairly standard recipe was as followed:

Ingredients:

  • 2 cups water
  • 2 cups white minute rice
  • 1 can black beans
  • 1 Tbs garlic pwd
  • 1 tsp onion pwd
  • Salt/Pepper to taste

Directions:

  1. Stir water and rice into large micro-cooker, attach lid, and microwave for 3.5 minutes. Open and stir to reduce overspill. Cook 3.5 minutes until all the rice is soft and water is fully absorbed.
  2. Open can of beans and pore beans into small micro-cooker. Stir in seasonings. Attach lid and microwave 2 minutes or until bean are completely warmed.
  3. Serve


Share Button

Post to Twitter

Educational Tips for Using Halloween Candy And a Fun Ways to Get Rid of It!

Hello mamma with loot of Halloween candy you desperately need to make disappear! It's not even Thanksgiving/Christmas season yet and we are all gaining poundage by the minute with all this "fun sized" candy laying around. To start with, use the candy for fun "educational" tools. This will get this kids thinking of the candy as more than just for eating as a snack. Then I've got some ideas to help you sneak out that candy or to get the kids excited with you about all the "opportunities" you have to share it in fun ways.

Examples of HARD Halloween Candy that you can get rid of by using in Operation Christmas Child Boxes

Education Uses for Halloween Candy:

  • Math Sorting: by chocolate vs fruity, by type, by size, and then you can break them down into color for things like MnMs and Skittles.
  • Math Graphing: learning about graphing by creating lines of candy next to one another can create bar graphs and you can discuss greatest, least, same, most popular, grossest, weirdest, etc.
  • Science experiments: this can run from anything like "which melts fastest" to "which one dissolved in _____ the fastest". This will be fun but the candy still won't have to be eaten.
  • Language Lessons: alphabetical order according to name of candy, mad libs, compound words, etc.

image

10 Ways to Rid The House of Halloween Candy:

  1. Operation Christmas Child Boxes: our number one way to "share" our bounty is by sorting out the hard, non-melty, non-chocolate candies for kids who don't have any candy much less an entire loot
  2. Cookies for Friends and Neighbors: MnM cookies, monster cookies, better than anything cake with candy toppings,
  3. Nursing Homes: make your candy a good excuse to go make some new friends who may need a visit
  4. Stockings: we've totally done this! Put back a little bag of each child's favorite candy and scatter it into their stocking.
  5. Birthday Party Pinata: smacking a pinata is always fun but can be expensive to stuff if you don't already have the candy laying around
  6. Party Favors: if your kids birthday {or a friends kids'} are near Halloween, make up some stuffed goody bags Full of candies.
  7. Neighbor Treats: holiday themed treats like Turkey cookies
  8. Work Candy Bowl: loose the pride and hose all your work friends by placing a bowl of goodies out that they can't resist.
  9. Waitress Tips: add to your generous cash tip for your waitress with a little goody pick-me-up for the night
  10. Bribery: forget the same and call it what it is, keep a few treats as school bribes for good, on-task, fast work.

I am SURE there are lots of other educational uses for the candy stash as well as creative ways to Get. Rid. Of. Candy. Boom! #mommied

Share Button

Post to Twitter

Homemade Hibachi-like Fried Rice/Scrambled Eggs and Chicken

I went on a date-night with my hubs to Fugis Hibachi Gill and Steakhouse. I'd never been there before and it was num num nummy! I don't usually like to pay for food unless I know I'm going to love it. I'm just frugal like that and don't want to waste money. But I went out on a ledge and ordered something I'd never tried before.Homemade Hibachi-like Fried RiceScrambled Eggs and Chicken

If you've ever been to one of those places you probably know they give you HUGE portions. I didn't know that or I would have shared with hubs. Since I didn't I ended up with an amazing box of leftovers I couldn't stop eating on until my tummy hurt.

When it was gone I wanted so badly to try and make it but just like I don't like ordering things unless I know I'd like it, I don't like to try new recipes unless I know it won't be a terrible waste. This week. I finally attempted it.

It was oh so yummy and I'm totally gonna be making it for our entire family to try. 😀 Here's what I did in case you wanna try it too::

Homemade Hibachi-like Fried RiceScrambled Eggs and Chicken Recipe

Ingredients {based on the 1 portion I made}:

  • eggs 2 large
  • green peppers ~3 Tbs diced small
  • carrots ~3 Tbs diced small
  • white rice 1.5 cups cooked
  • margarine ~1/8 cup
  • onion powder ~ 1/4 tsp
  • chicken 1/4 cup cooked
  • salt & pepper to taste
  • soy sauce to taste

Directions:

  1. scramble eggs {I've learned I really like using a Tbs of butter rather than milk}
  2. mix in white rice, peppers, carrots, onion powder, and salt and pepper until well mixed
  3. add butter and "fry" everything together until heated to your liking
  4. serve hot and add soy sauce to your liking


Share Button

Post to Twitter

The Cake

Today, I am honored to introduce Candice Ashcraft to you. She's a friend, fellow DIYer and church planter, photographer, wife, mom, and so much more. She has written this story and would love to share it with you. I love sharing story. More and more, I am being convinced that STORY is what God uses to draw us closer to one another and more important, to Himself.

~~~

My family is here again…the beginning of what I like to call “Birthday Season” in our house. It all begins the beginning of September, right after “Back to School”. (That’s real fun for the pocketbook.) "Birthday Season" is set into full swing on 2nd of September with my son, Austin’s birthday, then two weeks later is my wonderful day, followed two weeks later with my daughter, Haley’s birthday, and ending exactly one week later with our beautiful anniversary. Whew!! My poor husband John feels left out. Then as soon as all of this settles down, we have Christmas.

The. Cake.

This year, for Austin’s birthday, I tried saving as much money as I could since I have recently taken a giant leap of faith, quit my job, and took the giant leap into ministry! Never did I expect that when I took that leap, that it would be almost a year until I would have a full-time income again. However, I know that God’s got this and all things are according to His will and timing.

So, back to Austin’s birthday. One way that I tried to save some money was by avoiding the bakery and creating for him the cake that he really wanted. I really enjoy baking so this was going to be easy and enjoyable.

Austin and I looked online and at the store to find one he REALLY wanted- a camo cake with bright orange icing. I thought, “This is going to be so easy.” They now sell a camo cake mix in the grocery store and even have bright orange icing!! I was SO excited!! It looked a little bit beyond my skill level, but I knew I could do this.

I bought the cake mix, icing, and all the remaining ingredients needed to make this cake. I took it home, placed it all in the pantry until it was time to make it. In the meantime I pulled up some videos of how EXACTLY to make this masterpiece. It looked pretty simple, but I was still a little nervous. This was the one and only thing that Austin REALLY wanted for his birthday…no specific toys, games, or a party…just this CAKE. So it had to be perfect!

The day came to bake the cake. It was a quiet afternoon around the house, so I thought, “This is going to be perfect! I will be able to concentrate and it will be awesome!” I watched the video one more time and got to it. Now, let me explain exactly what “got to it” means. In this cake mix, you have one batter to mix. Inside the box, with the mix, are two food coloring packets. You mix your cake mix and then separate into four bowls. Then, you add a specific amount of coloring to each bowl. You end up with a light brown, dark brown, light green and dark green cake batter. You then take a spoonful of one color and pour it into the cake pan. Since I was making a two tier cake, I had to pour a spoonful in one and then use the same color and pour a spoonful into the other cake pan to make sure it was all even. Then, you alternate the colors and continue on until all batter is in the cake pans. From the time that I opened the box to the time that I put the two cake pans into the oven, it was ONE HOUR!!!! It looked pretty cool though and Austin was very excited. I cleaned up my mess and sat down while it baked and boy, oh boy, did it smell good!!

It was time to take it out. It smelled so yummy! As I was opening the oven door to let John and Austin peek at it, while giving it just a few more moments to bake, both of their reactions were, “That looks so cool!” Then we all screamed!!! Well, at least I did.

Out of the corner of my eye, I saw something moving outside of the back door. Just then, the dogs spotted it and started going crazy!! It was a… huge… snake!!!! The dogs’ instinct was to run out the doggie door to get it, so I raced them to it and shut it. John rushed outside to figure out what type of snake it was and commenced to killing it.

Then I remembered THE CAKE IN THE OVEN!!!!!! So, as John is outside brutally killing a snake (from the sounds of it), I rush to the oven to pull out the cake. Whew!! It wasn’t burnt. As my heart is about to beat out of my chest from the chaos I was very relieved to see that the cake looked awesome! I was hoping it looked just as good as the picture on the box when we would cut into it. So, I left the cake to cool and went to check on John and his snake situation. All was good, snake was gone, and dogs were on the hunt.

The Cake.

We were going to see a band in concert at a local church that evening and it was about time to go. I put a towel over the cakes and off we went. When we returned from an awesome night of pumped up worship, it was time to put this cake together for the family party the next day. As I was preparing for the icing extravaganza, two things concerned me about this cake. 1.) This sides/edges looked really thin and 2.) The middle had baked up really tall.

I thought, “Well, I’ll just shave off the middle and make it flat.” I’ve done this before and it’s always great. So, I take the piece that will be the bottom layer and shave off the “hump” in the middle. I place it, shaved side up, on the cake plate. I open the icing and give it a good stir. It seems kind of thin, but I decided to just go with it. Icing the bottom layer went smooth. Then, I took the second layer, shave off the “hump” in the middle, flip it over and place the shaved top side down. This is when everything. went. wrong.

The top layer would not sit flat, but I went with it anyways and tried building the icing up along the thin edges. The icing was thin so it was just running. THEN, the top layer started sliding off! I kept working with it and it just kept getting worse. Then, my wonderful husband walks into the kitchen and sees that I’m “not happy”. Now, I know he had good intentions, and was only trying to help, but he told me how his mom always did cakes and put the rounded “hump” facing up, which is usually how I do it too, but the video showed otherwise. Then he leaves the kitchen because he can see my frustration building. If I tried to pull the top layer off and flip it over at this point, with all the icing on it, it was going to crack, and let’s face it, that’s not a good thing.

Well, I flipped it over anyways. It was very messy and it started to crack some. This is when I lost it! I threw the cake in the refrigeratorthinking maybe the icing would get cold and stop the slipping and sliding of the top layer and mend the crack.

Now I‘m sure that all of us ladies have a place that we like to go to when we need to cry. Mine is the bathroom. Why?? Well, 1.) There’s a door that I can close and hopefully my kids will think that I’m using the bathroom and give me some privacy, 2.) I can lock this door if I choose to 3.) There’s a seat when you close the toilet lid and 4.)There are tissues to wipe away your tears and a trash can to throw them in. I think it’s a great place to have a good cry.

As I walked out of the kitchen, tears filling my eyes, I went undetected to my children. My husband? Not so much. He always knows when I’m heading to the bathroom for a good cry. He has a radar for it. So what does he do? He follows me in to the bathroom. Sometimes he helps and sometimes he makes it worse. I guess he’s a brave man! This time, he made it worse.

Now I will admit that this “little cry” was more like a two year old throwing a fit. Embarrassed? Maybe. After he left the bathroom, I stayed in there for awhile crying and trying to brainstorm on what to do. All Austin wanted was an awesome cake made by his mommy. This cake was NOT awesome at its current state. I thought about just going to the store and buying a whole new kit and starting over. That would leave me up all night baking a cake. Didn’t want to do that either. I had no idea as to what to do so I just sat there.

Once I composed myself and left the bathroom, still clueless as to what I should do. My very sweet and patient husband had an idea. He said we could put toothpicks in it to hold it together, like a dowel rod, put it in the refrigerator and let it sit over night. Then, maybe it would “glue” together and in the morning we could take out the toothpicks and I could finish icing it. I figured, “What else do I have to lose?”

We went into the kitchen and I pulled the cake out of the fridge. It had already started to stiffen so I thought it might just work. I slid the top layer into place and held it while John put the toothpicks in the cakes. It looked like it was going to hold it!! I carefully placed it back into the fridge and cleaned up my mess.

I was just so upset because I wanted this cake to be perfect for Austin. I wanted him to be so thrilled when I cut it open. I wanted it to meet all of his expectations. I wanted it to look just like the picture on the front of the box!! As I told John all of this he lovingly told me that Austin was going to love it no matter what it looked like because his mom made him the cake that he wanted. Guess what? He was right.

The next morning I get up and get myself ready. I can’t even bring myself to look at that messy cake. The whole family was coming for lunch and I still had to finish this cake. I took a deep breath, said a prayer, and opened the fridge, fully expecting to see the top layer slid off and in two or more pieces.

It looked just like it did when I put it in there the night before!! What a relief!! I pulled it out, with a new mind set and finished the cake. I even pulled out my icing tube and tips and put some flare onto this cake! It looked good and Austin was tickled to death! I was very pleased with the cake that I allowed to ruin my evening.

The family all met us for lunch at a local restaurant. We ate and had a great time! Then we all went back to our house for presents and cake.…cake. I was so nervous. I told my family all about this cake experience and if it turned out awful we’d just have to eat ice cream. I took a deep breath and cut the first piece. It looked awesome!! It looked just like the camo pattern on the front of the box! I was tickled to death that it looked so good. Now came the taste test…another big deep breath and… it was one of the best cakes I’ve ever had!!! The family just ranted and raved over how good this cake was and how neat it looked!! (I may have shed a tear.) I just could not believe that this mess, this big mess, turned out to look and taste so good!! Not to mention that I had one VERY happy boy on his birthday!

The Cake

Later that day, I was sitting there thinking about that cake. How messy and broken it was. How it was falling apart and needed lots of help standing up to become the cake that it was meant to be. I felt very much like that cake…broken, messy and needing help.

I realized that when I’m like that, I’ve got the very thing that I need holding me up, like the toothpicks held up that cake. I’ve got Jesus. He’s in me, holding me together when life gets messy. I might be falling apart, broken and messy, but He has greater things in store for me.

Sometimes, we have to become broken before He can fully use us to the extent that He wants. We have to become so broken and messy that only HE can hold us up! Then, at that moment, is when He turns it around and uses us and makes us into something beautiful.  Just like that broken cake being held up by toothpicks, I am a broken person being held up by Christ. Just like that cake was pleasing to everyone that saw and ate it, I am pleasing to my Father. No matter what others think of me, He has a purpose for me in this world. I am to further His Kingdom.

Make me broken. Make me messy. To the point that only You can hold me up, Jesus. Then, I will become the beautiful, confident, work of Your art on display for all to see, and in return will lead others to You through the works that You have done in me.

Share Button

Post to Twitter

Preparing Food for Maternity Leave

Back in December, Elizabeth Ree, my fourth child was born via c-section with my older three all being under 5 and 1/2 years old. I knew my church family was planning to try and help with meals during this time of recovery and transition in our home but with it being directly between two major holidays, I didn't want feeding my family to be the responsibility of anyone else.

Preparing Food for Maternity LeavePreparing Food for Maternity Leave

{or any other cooking hiatus like Summer Time!}

I decided to spend about two days cooking, cooking, and cooking some more. After friends brought us some meals, and the freezer was empty, it was March. That's right, other than weekly milk runs, we didn't have to grocery shop or do major meal prep for two and a half months.

I'm sharing how I prepared food for my "maternity leave" over at the Homemaker's Challenge today is ya wanna read. 😀

Share Button
Related Posts Plugin for WordPress, Blogger...

Post to Twitter