MY Poppy Seed Project {tutorial}

Today I'll be posting the step-by-step progress {literally} of
MY Poppy Seed Project.

Last night I received my long awaited package
in the mail.

1. Order and Anticipate. They took about 7 business days to receive the package after it was shipped. They we very Well packed.


This morning I started painting!

2.  Paint frames: I am doing a pattern on the bigger frame that will be layered behind the smaller so it will end up being painted twice. The first coat of paint will be the color of the pattern. The top coat will be the color of the frame. I painted both frames with the Krylon Brushed Metallic Satin "Caramel Latte". I started with the back side {could have just done 1 coat since it won't really be seen but went ahead and did 2 to test how it would look}. Then I put pushpins in the inner part where the backing goes as to not make holes in the back. These allowed me to speed the process up and start painting the front by flip them over without smudging the paint on the back.

This afternoon I created polka dots!

3. Trace where the layered frame will be. I waited until the paint had dried and then centered the smaller frame on top of the larger frame. Then I traced around the smaller one with a pencil and I flipped it over and traced the square on the inside of the smaller one so I'd be able to see how to line it up after painting over the polka dots.

4. Design polka dots pattern. I raced circle using a small medicine bottle onto painters tape and then cut them out. {They are NOT exact} Then I place them semi-randomly around the larger frame.

Some of the polka dots hung over so I trimmed the extra off.

5. Double check design. Then I put the small frame back on top to make sure I liked their placement before I painted over them. I did end up moving some of the dots {GREAT thing about painter's tape}.

When the polka dots where ready I painted the top layer on the large frame!

6. Paint the top coat and remove vinyl. I painted ~3 coats of red to make sure it covered well. I didn't take many pictures of taking the vinyl off because I was fighting off babies but it's really simple. Some of my red smugged a little while I was peeling it off but that just adds to the DIY look ;o)

I then glued the frames together!

7. Glue the frames together. I using Liquid Nails to glue the small frame on top of the big frame. I'm letting the frames sit for several hours with lots of weight on top to help adhere the 2 frames. {I put parchment paper between the books and the frames to make sure the didn't stick/pull off paint when I removed them}

 When the glue was securely dried I places it on my mantel in the living room!

8. Add the frames to home decor. I place my frame on the mantel along with a few other items I already had around the house. LOVE THESE FRAMES! Can't wait until my next project with them!

Keep in mind that this is just 1 example of what YOU can get with the Poppy Seed Project gift card.
Visit their site HERE and Enter the giveaway HERE!

Share Button

Post to Twitter

Preschool Finances

How to you teach your child about budgeting?

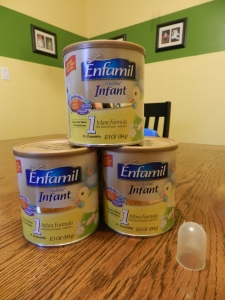
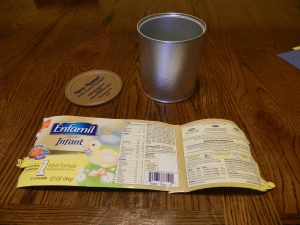
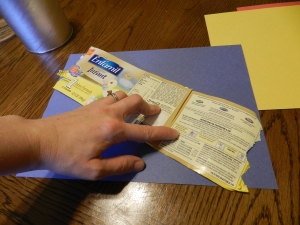
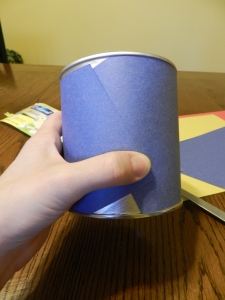
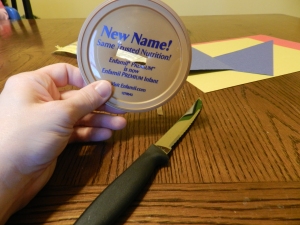
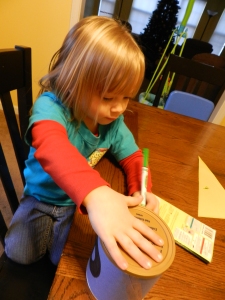
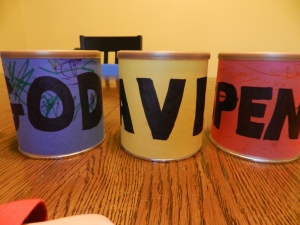
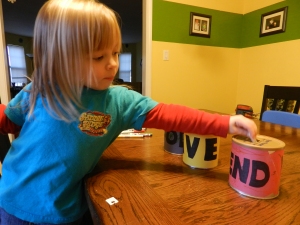
Yep, those my friend are more washed out formula cans. Are you ready from some up-cycling? We have begun a new habit in our home. Partly to teach our oldest child (3.5) about prioritizing and budgeting but also just as a different system of reward. I'll tell you more about our "fake economy" later but for now I just want to tell you the 3 basic categories we are teaching her to "budget" her money into. God. Save. Spend. That simple. We give back to God just a simple part of what He's so graciously allowed us to manage. Then we save for bigger things. And we get to spend more frequently on smaller things. Here is how we made her 3 banks:

Like I said, I'm working on a future post about our "reward system" but I will just say it involves bread-ties and then divides them {currently}divides them {she calls it 'organizing' them} Evenly into the 3 categories/banks.

How are starting to teach your littles about finances and how to handle them God's way? I'm always up for new ideas!!!

Share Button

Post to Twitter

Valentine’s Day GIVEAWAY!

I just recently learned about 2 fun new sites!The Crafting Chicks

AND


Poppy Seed Projects

I 1st came across them when doing my Feb post,"Ghetto Frames: DIY Organic Bloom Frames" for Homemaker's  Challenge. When I came across these lovely ladies and their enticing craftiness I was Not only was I envious of their ability to make adorable crafts but also products they worked with. They recently has a giveaway for a Poppy Seed Project product that had me flipping my lid. Just the pictures of the products they offered had me in disbelief. I didn't know anyone sold Exactly what I'd always been shopping at the Goodwills and yard sales for. I had to contact them.

I'm honored today to be offering a $25.oo gift card to the Poppy Seed Project!

MY Poppy Seed Project!
This will give you just a glimpse into one of the options you can use your gift card for ;o)
It is a stacked frame using 2 different sized square bracketed frames. I show you the process and final product!!!!

It looks similar to this Poppy Seed Projects example:

Enter DAILY for more chances to win:


a Rafflecopter giveaway

Note to all the wonderful ladies I've been working with:

It's been a pleasure working with all these ladies! Thanks for giving me the chance to share this cuteness with my readers!

Share Button

Post to Twitter

DIY Organic Bloom Frames

I love changing up my home decor often, so I can't bring myself to spend big-bucks on a single piece; so in-turn, I'm kind of a cheapskate. Most of my decor in my home is some how a DIY version of something I saw and loved so...Yep! I have a DIY version of The Organic Bloom frames! I'd love to share with you today how to get a similar look over at the Homemaker's Challenge!

Another place I found CHEAP frames to paint up yourself if the Goodwill has a low stalk: http://www.poppyseedprojects.com/kits/Frames! Check out their blog as a great resource as well!

  Poppy Seed Project GIVEAWAY coming Soon! Stay tuned.
I'm thinking the RED and HEARTS might be a good hint ;o)

Share Button

Post to Twitter

Knight and Shining Armor 1st Birthday Party {FOOD}

The Table:

I had a yellow table cloth left from our oldest daughters party and the blue table cloth I though I bought to layer on top ended up being goodie bags so I used this picnic table cloth I also already had. It worked. The flag streamers are made from scrapbook paper, hot glue, and ribbon.

The feast was an attempt at “Mid-evil Carnival food/ Knight-ish food”.

We made {frozen and cooked according to the package} Corn Dogs!
The holder is a round cardboard cake thing that I covered in tin foil and poked holes through with scissors.

Cotton candy on Popsicle sticks {and my hubs thought I’d never find enough uses for that giant box of 1000 sticks…}. I took tubs of $1.00 cotton candy from Wal-Mart and unrolled it. Then I rerolled sections of it back onto sticks. The only way it would have been cooler is if it were blue…but the pink kinda looks like it goes with the red ;o)

We went with a kid-friendly, less waist version of caramel apple!

Cake balls {affectionately named cannonballs} made from the left over parts of the cake that were cut off to make the castle and smash cake!

Pretzel rods dipped in almond bark with added theme colored sprinkles, aka Pretzel Swards!

This bucket is one we had around the house for Benjamin that I’d found for $1.00 at the Goodwill! Chunked out cutlery in it- voila!

Ice cream, pre-scooped into punch cups and placed back into the freezer right before the party to save time and make for easy serving!

This is the wooden highchair we’ve used for all of children. We just took the cushion off so it wouldn’t get stained by the chocolate, left the plastic tray on for protection, and added part of the flag streamer I made.

Yep! I put on an apron and took his diapered-self straight to the kitchen sink for a quick scrub down before getting redressed for the pinata and presents!

Share Button
Related Posts Plugin for WordPress, Blogger...

Post to Twitter